Building a Mechanical Keyboard
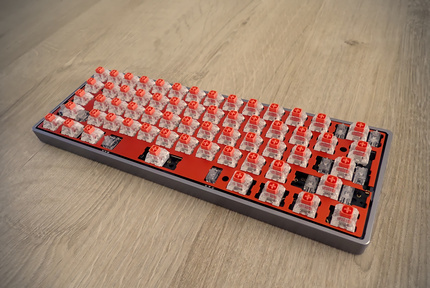
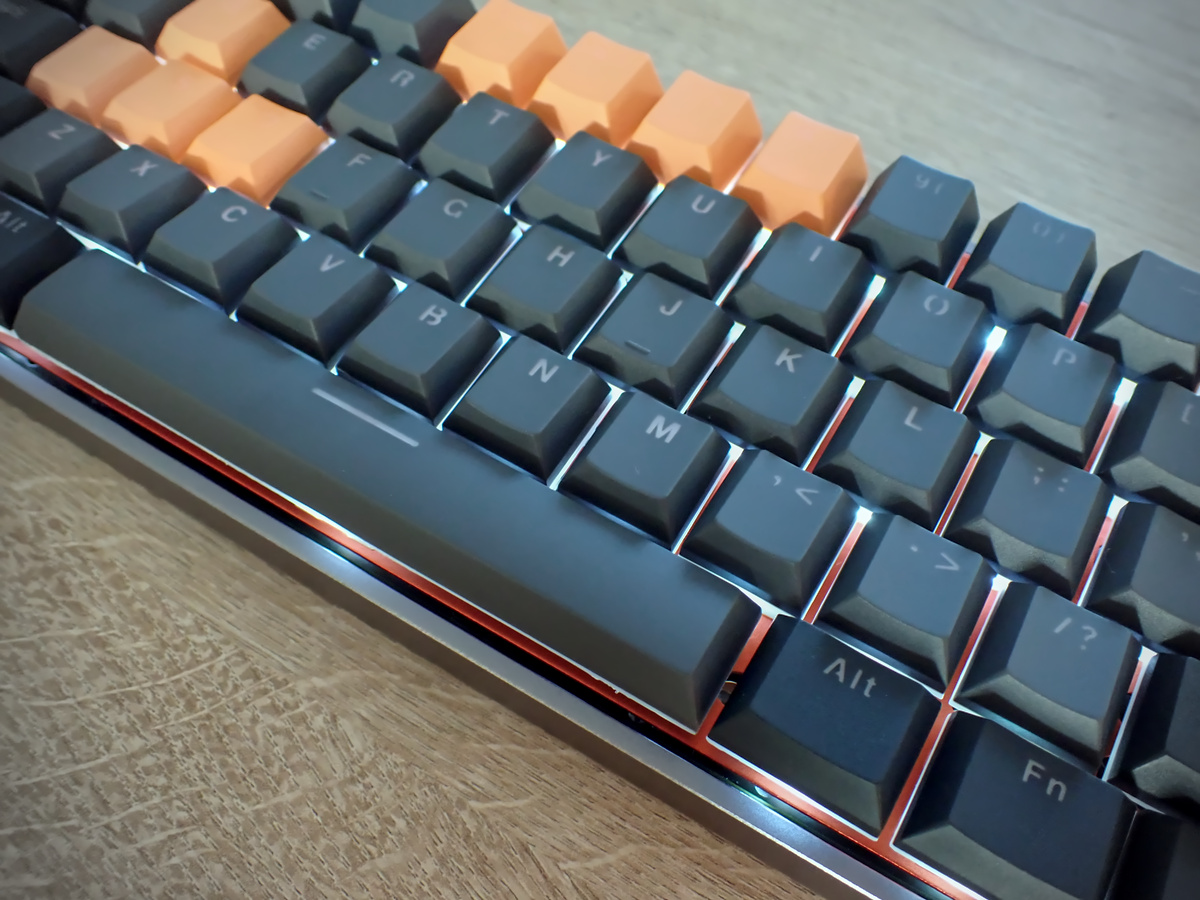
While I was vaguely aware there were some strange, expensive, small keyboards around I never bothered to find out what these were about. Until a colleague of mine showed up with one at work. After talking a bit about it with her and gathering more information building one seemed like a fun project. You can see the result right below.
What is a mechanical keyboard
If you have no idea what a mechanical keyboard is, here is the tl;dr. Mass produced keyboards use rubber domes under the keys to register keystrokes. While this is cheap to produce, the typing experience is considered a step backwards from keyboards built in the 80’s, like the IBM Model M which had mechanical switches (see picture below) under each key. Furthermore, the rubber domes tend to wear much faster than metal springs in mechanical switches. So the life-span of a mechanical keyboard is significantly higher than a membrane one.
However, as a full keyboard has roughly 100 keys, which all need their own switch, mechanical keyboards get expensive. Furthermore, all those switches are considerably heavier than a rubber membrane. The Model M was well over 2 kilograms, while very stable and sturdy, the added weight can be rather annoying if you need to transport your keyboard frequently.
Therefore many mechanical keyboards have a reduced set of keys, this drives both the cost (as fewer components are needed) and the weight down. Often omitted are the row of function keys, the numpad, the arrow keys along with other keys in the middle section (del, pg up, pg down, …). Modern mechanical keyboards can be set up in a way those key functions are available in a second or third (or fourth …) layer, using a key you can switch between layers. Similarly as the shift key turns lower case letters into capital ones a keyboard can be set up that the menu key transforms the numbers into function keys (F1, F2, …).
Building a mechanical keyboard
While there are fully assembled keyboards available, building one yourself allows you to pick the parts and aesthetics that match your preferences. However, this can also be daunting as there are many, many options for all components at very different price points.
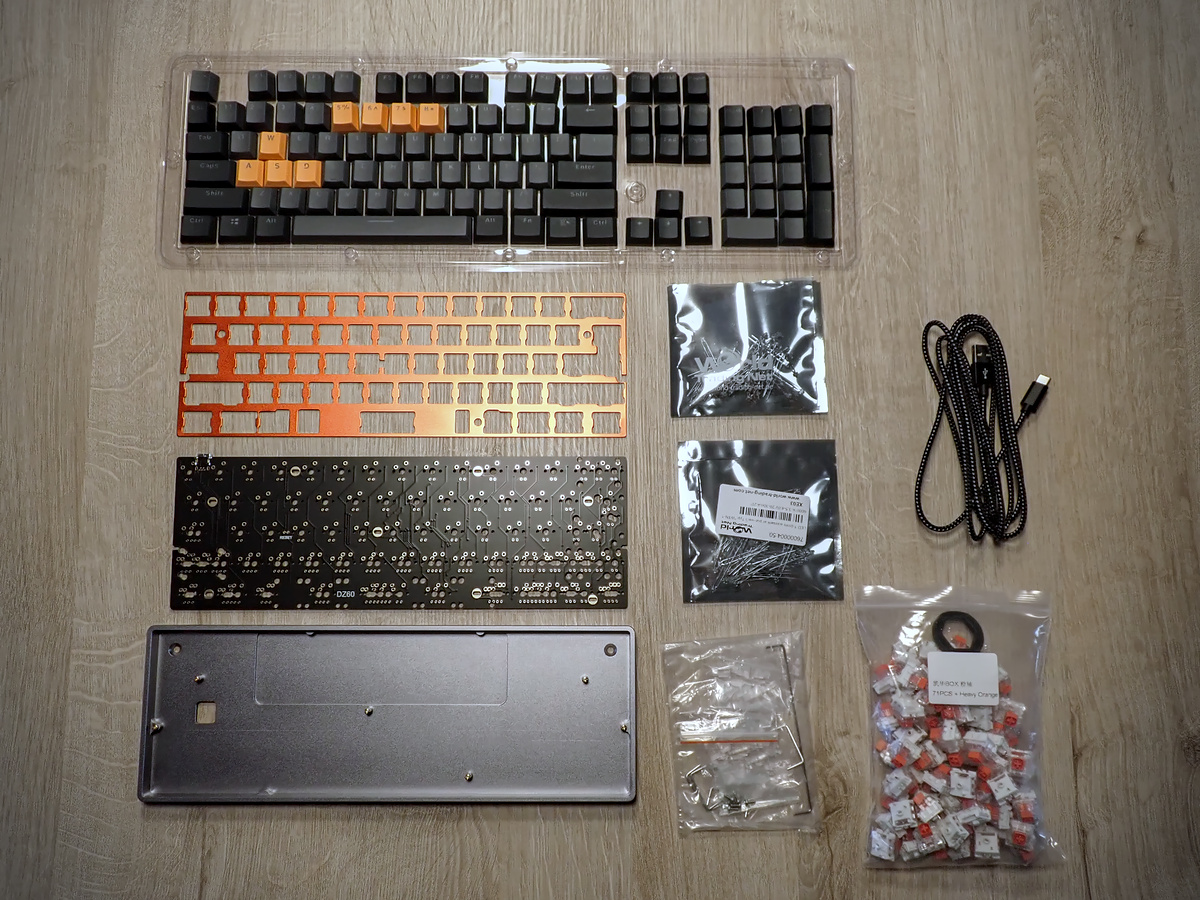
Here you can see the parts I picked up for my keyboard:
- A set of keycaps
- An aluminum backplate (orange, optional)
- A PCB: the DZ60 v3.0 with USB-C
- An aluminum case (gray)
- Two bags of white 1.8 mm LEDs (2x 50, optional)
- A set of stabilizers
- A standard braided USB-C cable
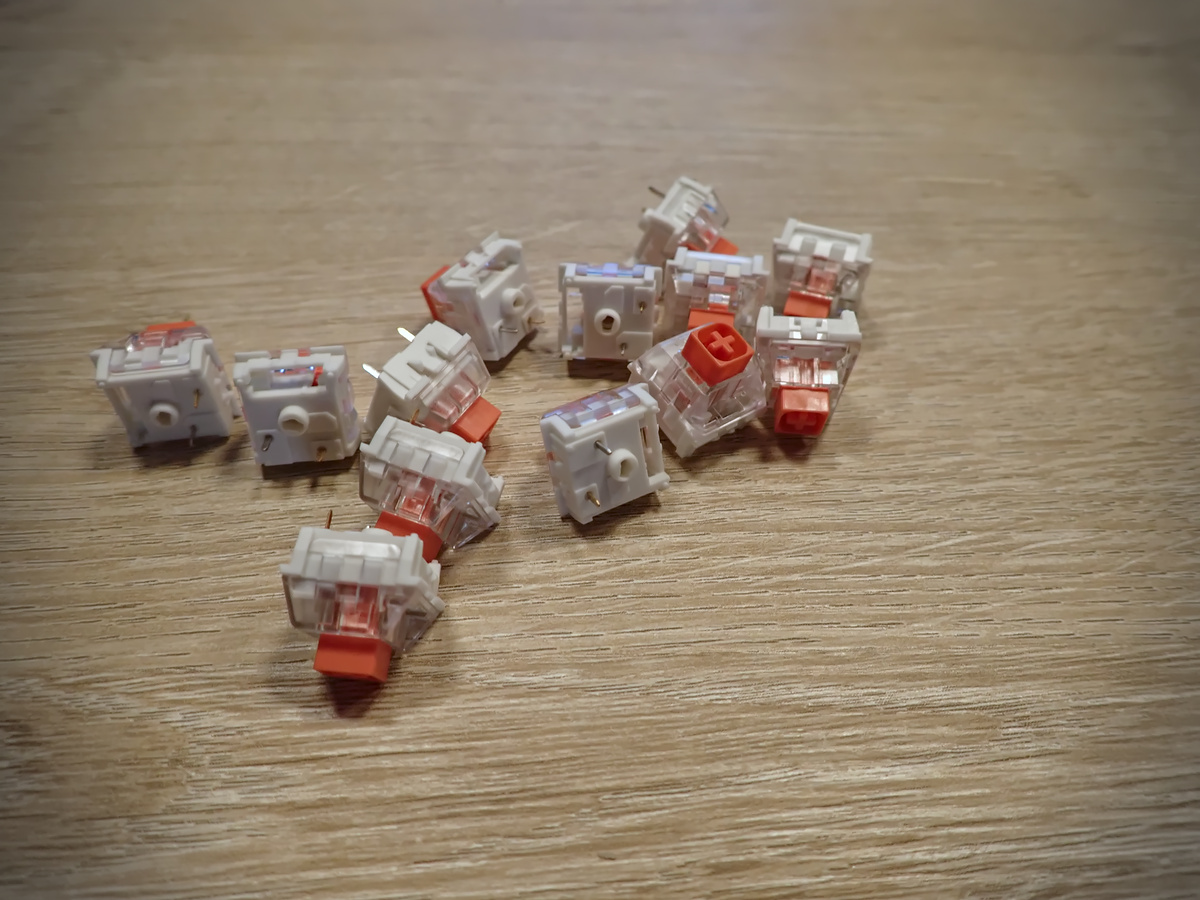
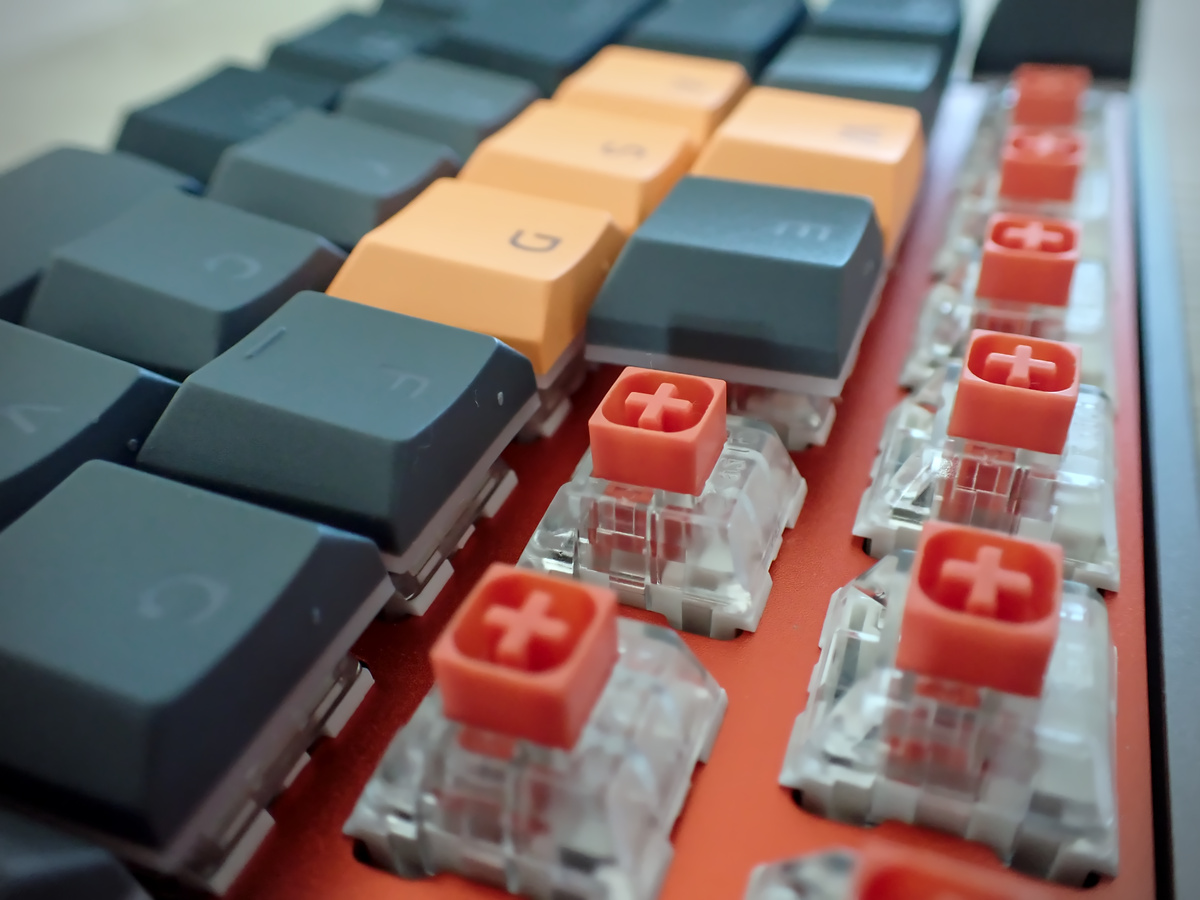
- A set of switches: Kailh Box Burnt Orange (71)
Which PCB you should opt for depends on the layout of your keyboard as this determines which keycaps, case, backplate, … you’ll need. I picked a 60% one as this is fairly standard, so there is ample of choice of other items. This is also about the smallest you can go without venturing into rather exotic or weird keyboard layouts. The Kailh Box Burnt Orange switched seemed like a good compromise for all round use, typing, programming and some gaming. They are a bit heavier as I do like a keyboard that pushes back a little. Depending on the PCB you picked, there might be an option to add LED lighting underneath the keys, which LEDs depends again on the PCB. Also note that not all switches have room for an LED light. Stabilizers are required for larger keys, like the spacebar, shift, … For 60% keyboards there are ample of cases available in a wide variety of colors and materials, pick one you like. There are even more options for the keycaps, here I picked up a fairly cheap set, these can be replaced later anyway.
You’ll also need some tools for this build:
- Soldering Iron
- Solder
- Solder sucker
- Flat cutters
- Small piece of conducting wire or tweezers
- Screwdriver
- Multimeter
Step 0: Test the PCB
Before soldering anything to the PCB make sure to test it. Connect it with a computer, go to a keyboard testing website (like this one), and create a connection between pads where the switch would go with a short piece of wire or tweezers. Use the multimeter to check if there is power to the LED connectors, though be aware there might be a key that needs to be pressed to enable them.
Step 1: Solder the LEDs
When soldering things to a PCB it is usually a good idea to start with soldering the smallest components in place first. Here you don’t even have a choice as the switches will go over the LEDs. To make sure the LED is as close to the PCB as possible it can be helpful to solder one of the “legs”, then melt that connection again while pulling the other “leg” to get the LED in the best position. Then the second “leg” can be soldered and the first join can be improved a little with extra solder if necessary. Make sure the LEDs are properly installed, if they are crooked it will be hard to install the switches.

The DZ60 supports multiple layouts and the place where switches and LEDs need to be installed differs, sometimes differences are small and subtle. In case of doubt, double check using switches with keycaps mounted. In case you do make a mistake, use the solder sucker to remove the LED. Be careful not to heat up the pad too long as you might damage it and hence your PCB.
Make sure to test all LEDs before proceeding. Note that the LED under the Caps-Lock key will only switch on if Caps-Lock is active on the DZ60. If that one doesn’t light up immediately don’t panic, use the wire or tweezers to enable Caps-Lock and see if it turns on.
Step 2: Install the stabilizers
Figure out where the stabilizers go for our layout and install them. There are plenty of videos on youtube that show how to properly install them. Optionally you can apply some lube.
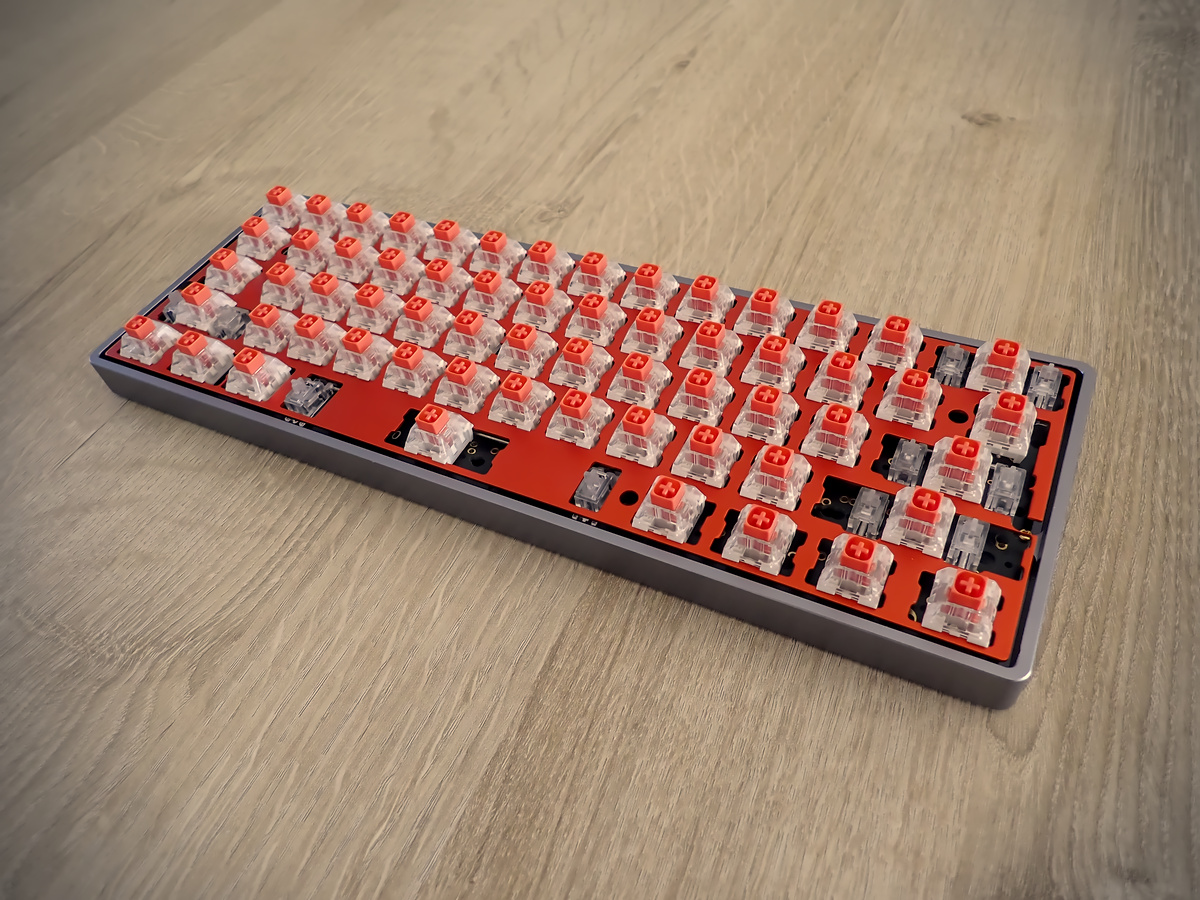
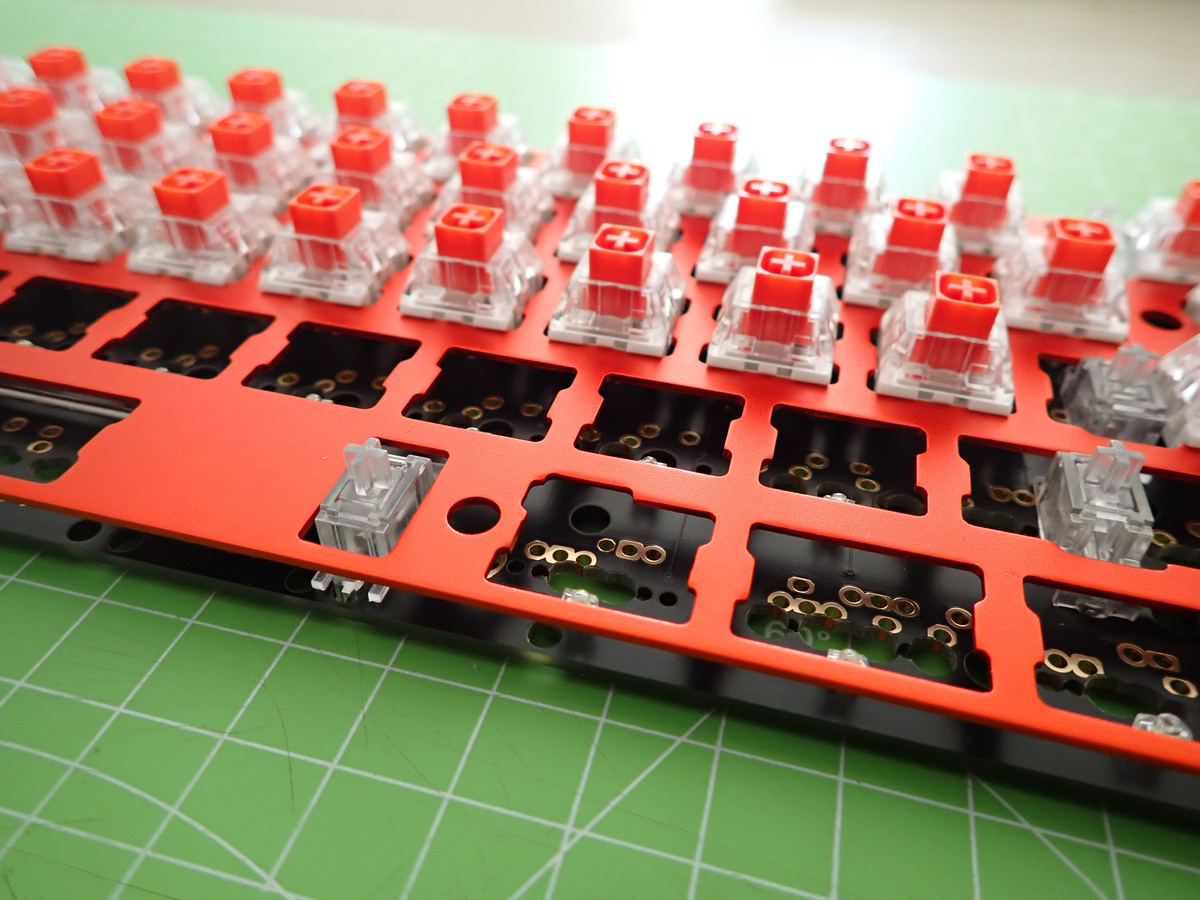
Step 3: Mount the backplate and solder switches
Important note, the backplate is soldered in place with the switches and cannot be installed later on. Push in a few switches in places where there is only one possible position (most of the top row, most letters) and place the backplate with those switches on the PCB. (I had an issue with the space bar stabilizer, to access it I had to actually make two small cuts in the backplate in order to replace the stabilizer without desoldering all (!) switches)
When soldering the switches it is super important they are soldered firmly against the PCB. To ensure the, solder one pin in place, then melt that connection again while pushing the switch firmly in place. Next, solder the other pin and clean up the connection on the first by adding a little extra solder if necessary. Repeat this for the other switches and start adding switches, it can be a bit cumbersome to get them to snap in place with the backpanel and some force was required. Be careful not to damage the PCB.
This is a time-consuming process, take your time and test regularly if all soldered switches are working. In spots where there are multiple options, check with switches with the keycaps attached where the switch needs to be installed.
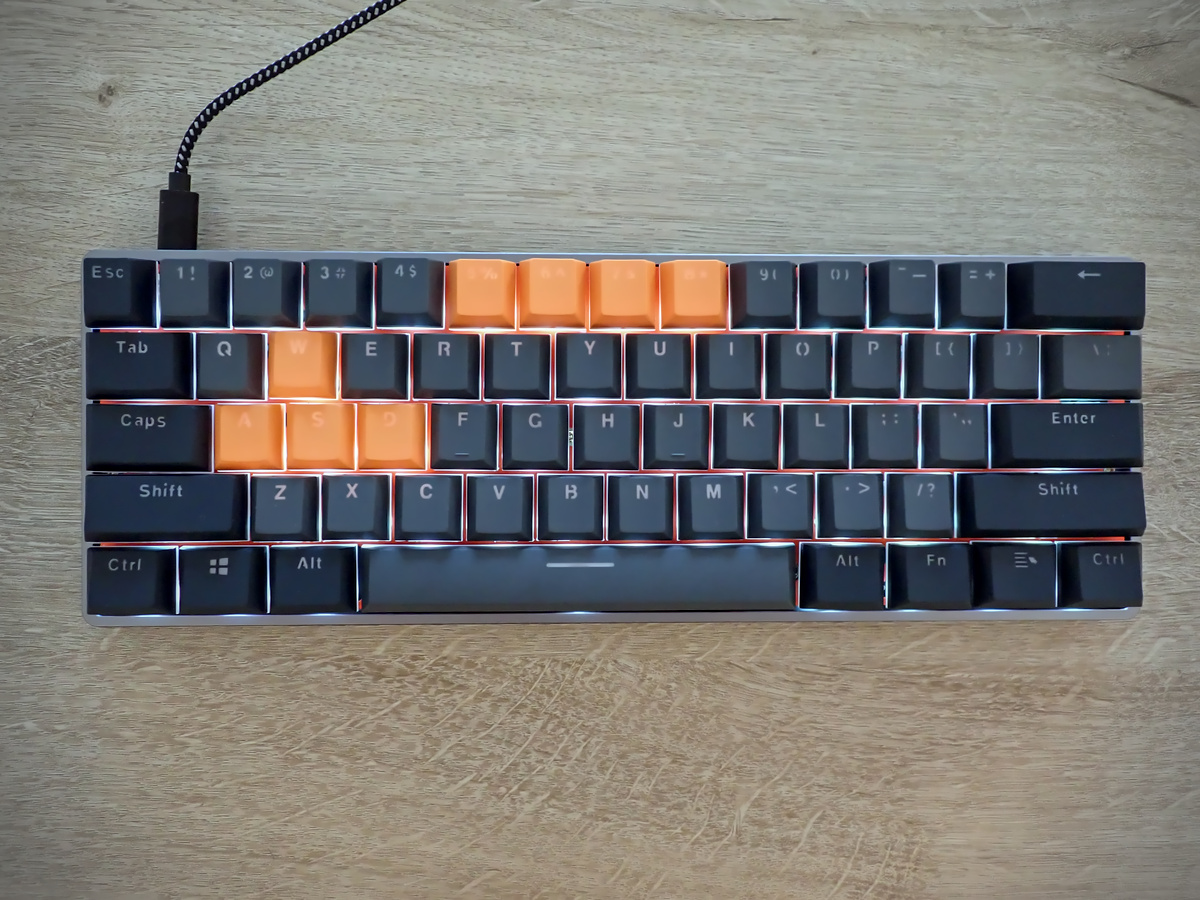
Step 4: Install some keycaps
You can start putting the keycaps on at this point. This is pretty straightforward, put the cap on the switch and push it down firmly. Just make sure not the cover the holes to screw holes yet, you’ll need to be able to access those to put the PCB in the case. Test one more time if everything works.
Step 5: Put the PCB in the case
Put the PCB in the case, screw it in place and place the last few keycaps. The hardware part is done!
Step 6: Configuration
The default configuration of the DZ60 is pretty good, though you might want to tweak it a little. For instance the arrow keys are not mapped in the default configuration. While this does involve flashing custom firmware, this is surprisingly easy using the qmk configuration tools.
Go to https://config.qmk.fm/ and click the Wizard’s hat in the top right corner, this will bring up the tutorial. In a nutshell, you create a layout on the website, build the firmware through it as well. Download the compiled firmware and flash it to the keyboard using qmk_toolbox. ( you might need a driver to be able to flash the firmware, these can be found on https://github.com/qmk/qmk_driver_installer/releases )
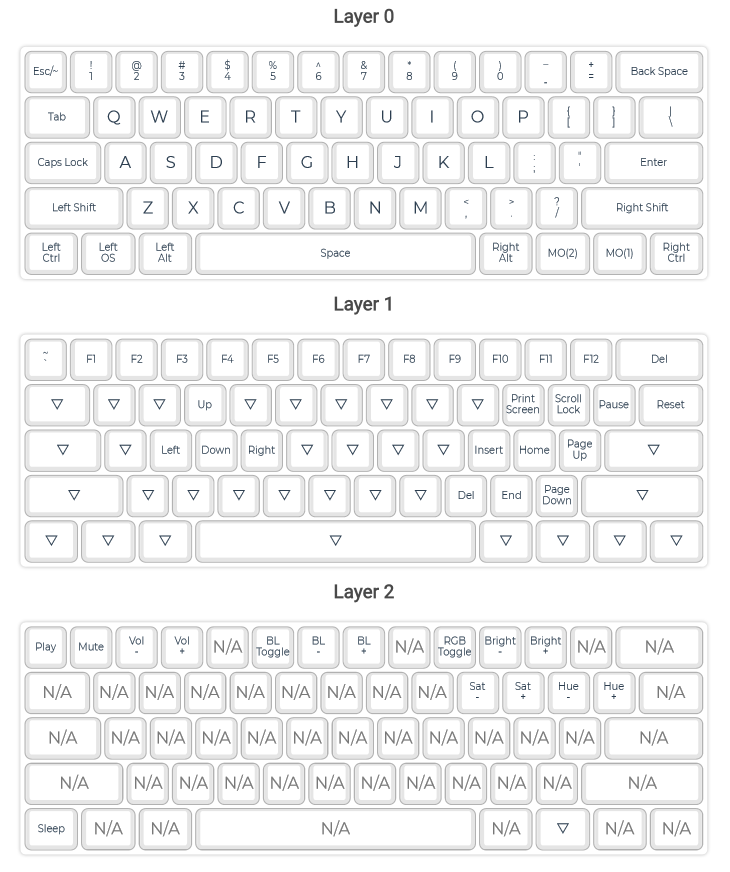
Below you can see the current layout I’m using, layer zero is pretty standard apart from the fact I’m using the right OS key to activate layer two. In layer one I turned esdf into arrow keys, I’m not using the typical wasd keys as this would require me to move my hand one column over. Now I can activate the layer with my right pinky and access the arrow keys with my left hand. Takes some getting used to but now it is becoming very efficient to work with. All controls for the DZ60’s lights I moved to layer two, where I also set up some media controls and a way to put my computer to sleep.
Conclusion
Building things if fun, especially things you get to use every day. The keyboard feels super sturdy and is extremely pleasant to type on. While it does make significantly more noise than a membrane keyboard, I find the clicking and clacking when typing fast encouraging. However, it is something you should consider when taking a mechanical keyboard to the office. Lacking some of the buttons, especially the arrow keys, was initially problematic but after adding them to the additional layers in a way that makes sense for me I got used to it very fast.
The backplate gave me some grievances when I had to access the space bar’s stabilizer (the bar popped out of the joint). Eventually I had to strategically clip the backplate with a bolt cutters and file the cuts to be able to replace the stabilizer. Since these boards are intended to last a long time, they should be repairable. So if you get a backplate, get one that allows access to other components without modification. The LED isn’t directly under the letter with this PCB, that cannot be changed, but the letter on the keys don’t light up as bright as I hoped. In time I might replace the keycaps with a nicer set of opaque caps that doesn’t need the back light.
As hardware builds are quite nice you’ll probably see some more on my blog later on!
Liked this post ? You can buy me a coffee