

Pagefind: Search in a static website
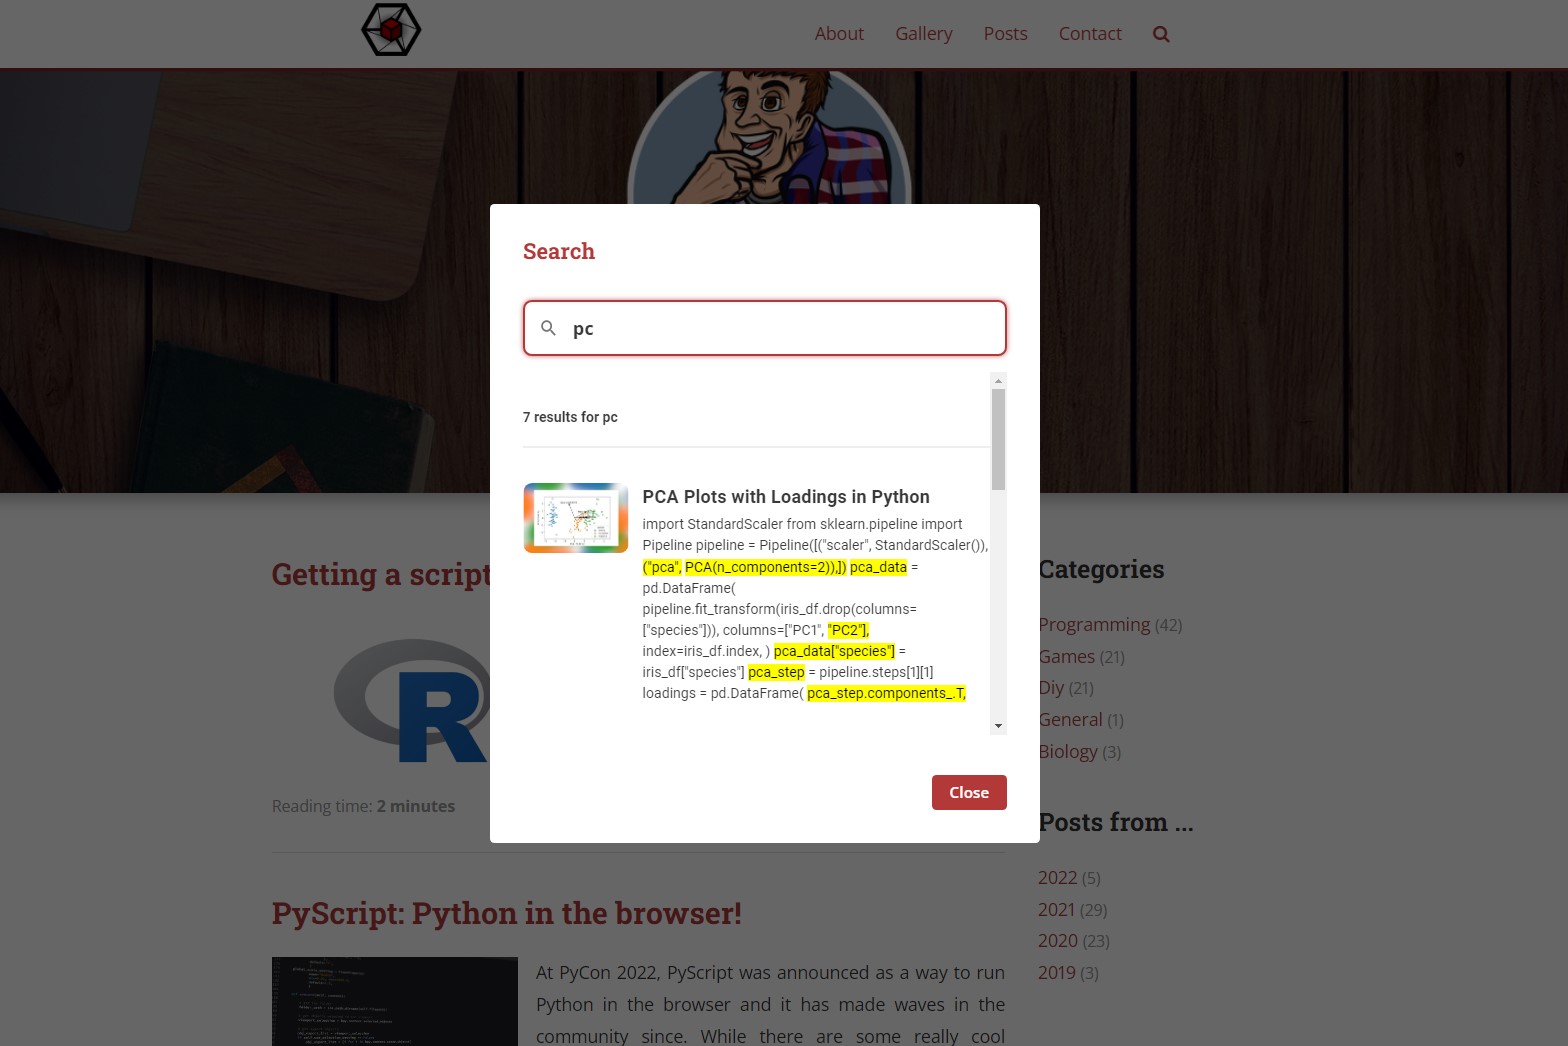
Adding a good search to a website is hard in any case, but with static website good options are few and far between. Pagefind is a game-changer and makes this very simple! It already has been added to this site, so for a quick demo click the search icon in the navbar at the top of this page. If you are interested in adding a similar search to a website yourself, keep on reading.
The idea behind Pagefind is remarkably simple. You include a bit of CSS and javascript provided on their site and generate it per usual. Before uploading however you run Pagefind, which will crawl over your generated pages and create an index that the bit of javascript code you need to include will use to find relevant pages base on the provided search terms. The static pages, along with the index Pagefind created need to be deployed, and you are good to go.
Installing Pagefind and getting started
There are a few options available which can be found in the Pagefind documentation. On my system (Windows 10) running it through [npx] didn’t work, so I opted to go with the binary version.
For this website, the release version of the website is generated in the ./docs folder (the source folder), which you can easily
turn into a website on GitHub. So a .yaml file pagefind.yaml needed to be added to point Pagefind to the right
directory and specify where the output should go. I opted to store the output in a folder pagefind (note: this
folder will be a sub-folder of your source folder). The yaml file is shown below.
# pagefind.yaml
source: docs
bundle_dir: pagefind
Next, a line was added to the batch script which is used to (re-)build this website. Pagefind should be run after the website is generated, so it can index the most recent version of the files. (Note: the pagefind binary is located in the same folder as this script, which is also the root of the repository)
bundle exec jekyll build --config _config.yml && ^
.\pagefind.exe
Now every time the batch file runs to generate the website, the search index will be updated along with it.
Updating the template
Here the official docs are excellent! You need to add a single CSS script and a JS script in the head of your site. This will need to be adjusted to the path where pagefind stores the index and how you handle css (e.g. here the base url is added)
<link rel="stylesheet" href="/pagefind/pagefind-ui.css">
<script src="/pagefind/pagefind-ui.js" type="text/javascript"></script>
Adding the search bar
Here you’ll find this site differs from the official docs as clicking the search button will pop up a modal where the search bar is located. Models are essentially hidden divs at the bottom of each page, which are brought to the front using javascript. The bit below is the html code for the modal used here, this is included at the bottom of each page and can be shown using Micromodal.
<div class="modal micromodal-slide" id="modal-2" aria-hidden="true">
	<div class="modal__overlay" tabindex="-1" data-micromodal-close>
		<div class="modal__container" role="dialog" aria-modal="true" aria-labelledby="modal-2-title">
			<header class="modal__header">
				<h2 class="modal__title" id="modal-2-title">
					Search
				</h2>
			</header>
			<main class="modal__content" id="modal-2-content">
				<div id="search"></div>
			</main>
			<footer class="modal__footer">
					<button class="modal__btn modal__btn-primary" data-micromodal-close="" aria-label="Close this dialog window">Close</button>
			</footer>
		</div>
	</div>
</div>
Just a little bit of javascript code that needs to show the modal when the search icon is clicked and put the focus on the search box. This is relatively easy as you can see below. The hardest thing here is figuring out which classes Pagefind assigns to the elements it adds (e.g. .pagefind-ui__search-input is the textbox where the search-term is entered)
<script type="text/javascript">
$(document).ready(function() {
	MicroModal.init();

	$('.nav-link-search').click(function(ev) {
	  ev.preventDefault();

	  MicroModal.show('modal-2', {
	  		onClose: function() { $('.nav-link-contact').blur(); },
	  		disableFocus: true
	  });

	  document.querySelector('.pagefind-ui__search-input').focus();
	});

});
</script>
Now everything should work! Some CSS was required to tie everything together nicely and the results are awesome!
Fixing the images
As thumbnails are available for each post, showing these in the results makes sense. To achieve this a little hack was used. On each post page, in the very beginning, the thumbnail image is included but not shown. By adding the appropriate attribute, Pagefind will use that image in the results.
<img data-pagefind-meta="image[src]" src="/assets/images/thumbnails/search_header.jpg" style="display:none" />
Excluding some sections
Some pages aren’t relevant as a search result, e.g. pages with a list of posts containing a certain tag, just clutter
the results. Also, links to previous and next posts need to be excluded from the index. This is fortunately
very straightforward, simply find the sections that need to be omitted from indexing by adding the attribute
data-pagefind-ignore. It might take a few rounds of testing to find all spots that need to be excluded, but the
search results will be better for it, so well worth the effort.
Conclusion
Adding search to a static website in the past was tedious and required a significant time-investment to develop. Though, as this website is growing, it was getting harder and harder to find specific posts using the overview and tags. So a proper search function became a must-have. With Pagefind this was a relatively easy process and completed in an evening. There really is no excuse not to include a search on your static websites anymore these days!
Header by Markus Winkler on Unsplash
Liked this post ? You can buy me a coffee