Get the most out of Stable Diffusion 2.1: Tips and Tricks
The latest version of Stable Diffusion, with its increased support for larger 768px images, is a significant improvement over previous models that only supported 512px images. While it may require some adjustment as it was trained on a more limited dataset and prompts in a different way, this new model has the potential to create stunning AI-generated artwork. In this series, we will provide some helpful tips and techniques for utilizing the capabilities of the Stable Diffusion 2.1 model to its full potential.
Requirements
To get started with Stable Diffusion, you’ll need to install a few tools. As each of these tools comes with its own installation instructions, be sure to refer to the manuals for specific installation instructions for each tool. Here, we’ll just highlight settings specifically required in this workflow. As Stable Diffusion web UI needs to be installed though Git, make sure you have that available. For Windows, I prefer to install Git SCM over the official client.
- Stable Diffusion web UI from AUTOMATIC1111. The UI we’ll use to generate images, train models, …
- Dreambooth Extension for Stable Diffusion web UI. Can be installed through the UI (Extensions tab)
- Stable Diffusion 2.1 768 model. Get
v2-1_768-ema-pruned.ckptfrom huggingface.co and put this file in the correct folder - Lama Cleaner AI based in-painting tool, useful for removing parts of an image (optional)
- ChaiNNer workflow editor to create image editing workflows for e.g. up-scaling (optional)
- GIMP Image editing tool, free and open source (optional)
- You’ll need up-to-date drivers for your NVIDIA GPU along with cuDNN
To get the most out of the techniques in this series, you’ll want to make sure you have a top-notch GPU. If you don’t have one with at least 16GB VRAM at your disposal, you can make use of Runpod.io to rent a machine in the cloud with a powerful GPU for less than half a dollar per hour. Specs of my machine, used throughout this series are:
- NVIDIA 4080 RTX (16 Gb VRAM)
- RAM: 32 Gb
- CPU: Ryzen 7 3700X
- 100 Gb of free space
- Windows 10
Though for this first post a more modest GPU will suffice, any NVIDIA GPU with 6Gb VRAM should work. Only when training new styles or adding persons/objects, which will be covered later, more VRAM is required.
Configuring Stable Diffusion web UI
After installing Stable Diffusion web UI, you’ll need to make a few adjustments to the file webui-user.bat.
The program needs to be started with two additional arguments --xformers and --no-half, to do this add these
to the line which starts with set COMMANDLINE_ARGS=. It should be set COMMANDLINE_ARGS=--xformers --no-half.
--xformers is an optimization that shaves off some VRAM usage. --no-half is required by SD2.1.
Now save the file and run it to start Stable Diffusion (note that the first time it will install some additional
dependencies).
Once started go to Stable Diffusion web UI with your browser (default address is http://localhost:7860/) and go to the
Settings tab. Find the option Use cross attention optimizations while training and make sure it is
checked. This enables xformers to be used while training an embedding or hypernetwork as well, this will be covered
in a future post.
Creating art with AI
Personally I don’t think of myself as an artist, when working with AI generated art you assume the role of an art director. You provide instructions, aka. a prompt, to the neural network and hopefully tickle the right neurons to get an output you like, using a few rounds of revisions to get closer and closer to an image that meets your expectations. The workflow that works for me starts with prompt engineering, generating a large set of images, selecting the best one, generating some variations, picking the best one, use in-painting/img2img/compositing to get to the details right and finally up-scaling the image.
Step 1: Prompt Engineering
Writing a prompt is giving the neural network an indication what you need.
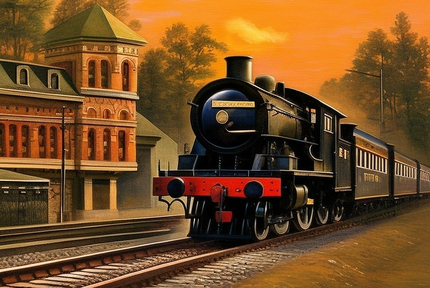
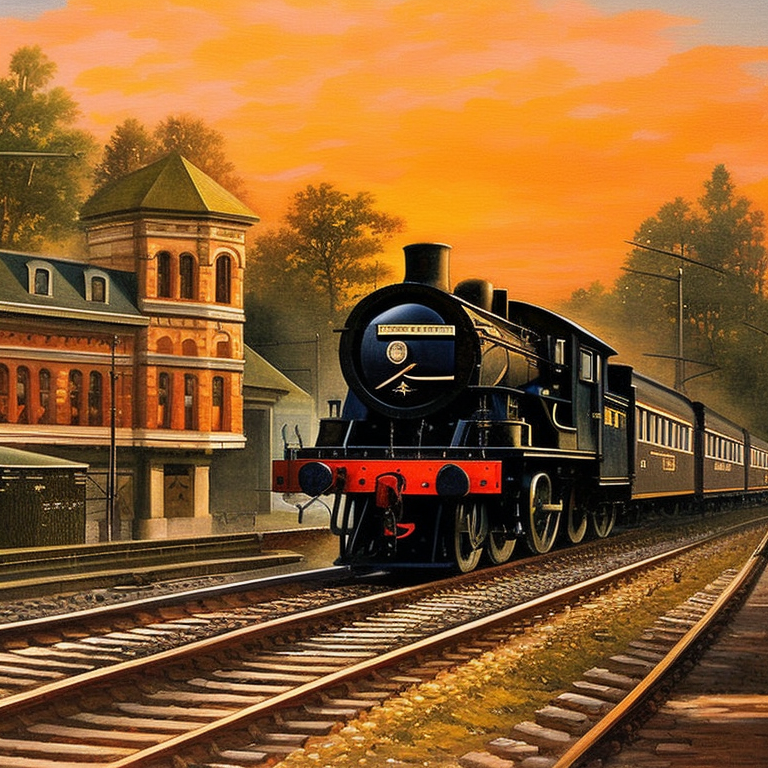
an steam engine leaving the trainstation, fall, sunset, painting, fine-art, detailed
For SD2.1 negative prompts are quite important, below is a set of terms I start with. In case I want a more painterly style I’ll add photo, photorealistic here (as that is what I don’t want). In case certain objects start popping up that are not wanted this would be the place to write that down and push the AI away from generating images containing those objects.
disfigured, kitsch, ugly, oversaturated, grain, low-res, Deformed, blurry, bad anatomy, disfigured, poorly drawn face,
mutation, mutated, extra limb, ugly, poorly drawn hands, missing limb, blurry, floating limbs, disconnected limbs,
malformed hands, blur, out of focus, long neck, long body, ugly, disgusting, poorly drawn, childish, mutilated,
mangled, old, surreal
After a few tries I got this image, I like the style and the locomotive reminds me of a model train I had as a kid. So let’s continue with this one.
Stable Diffusion also give you the prompts and settings used:
an steam engine leaving the trainstation, fall, sunset, painting, fine-art, detailed
Negative prompt: photo, photorealistic, disfigured, kitsch, ugly, oversaturated, grain, low-res, Deformed, blurry, bad anatomy, disfigured, poorly drawn face, mutation, mutated, extra limb, ugly, poorly drawn hands, missing limb, blurry, floating limbs, disconnected limbs, malformed hands, blur, out of focus, long neck, long body, ugly, disgusting, poorly drawn, childish, mutilated, mangled, old, surreal
Steps: 30, Sampler: Euler a, CFG scale: 7, Seed: 3331645590, Size: 768x768, Model hash: 4bdfc29c, Batch size: 4, Batch pos: 3
It will take some back-and-forth changing settings to find a good prompt with setting that yield a good initial image. You can also go brute-force here and generate a dozens, or even hundreds, of images and pick the best one.
Step 2: Generating Variations
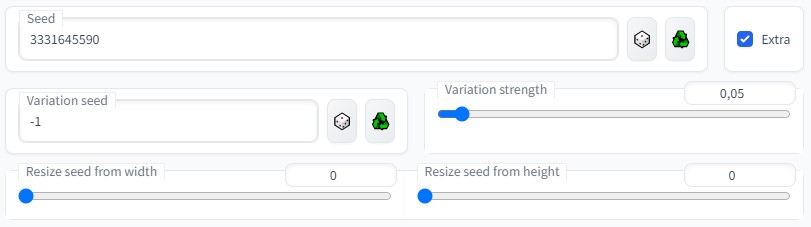
Next, we’ll generate some variations of this image to see if we can tease out a better version. To do this copy the
seed to the corresponding box and check Extra this will show the variation options. Set variation strength to
0.05 - 0.1 (relatively low as we don’t want to change the image too much) and start generating more images. Don’t change
the prompt or the settings.
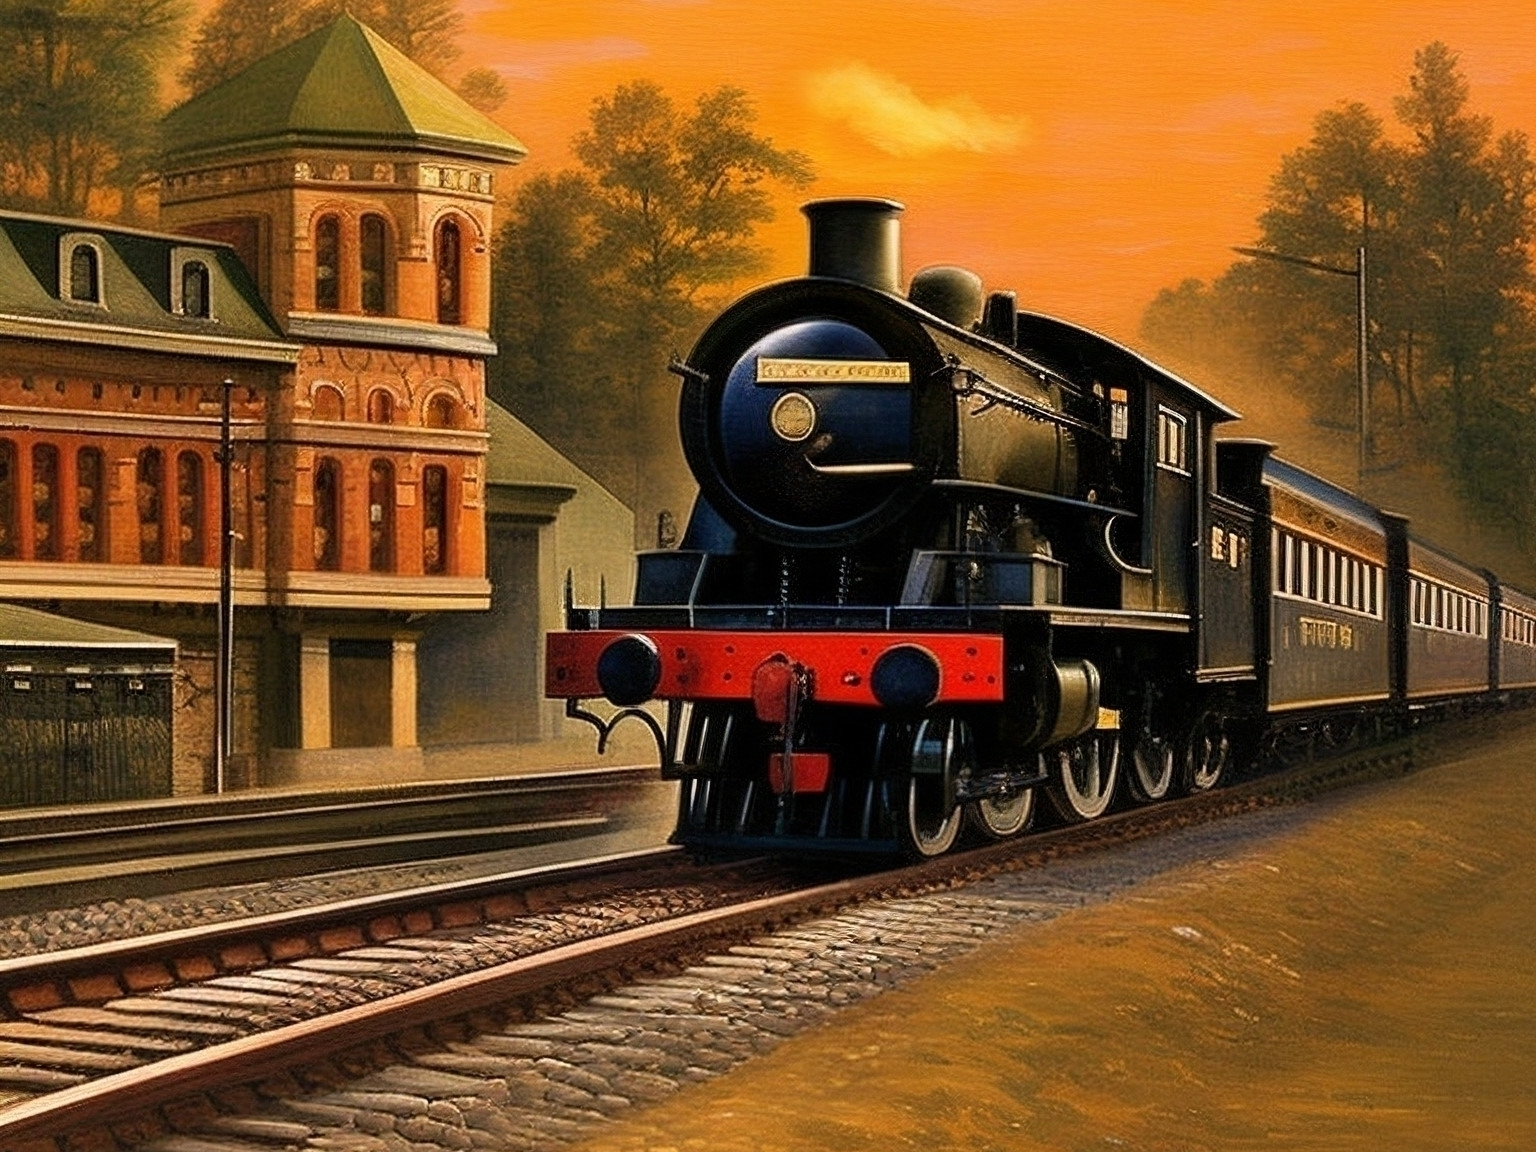
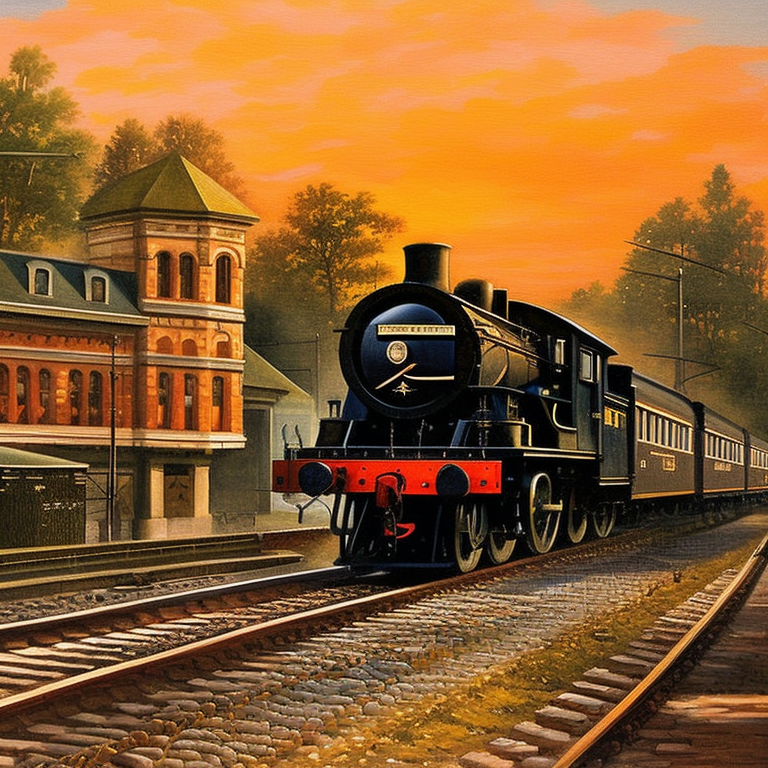
After generating a few batches the following image appeared. The building here is much closer to a train station. While it is far from perfect it is a step in the good direction. So let’s go with this one!
an steam engine leaving the trainstation, fall, sunset, painting, fine-art, detailed
Negative prompt: photo, photorealistic, disfigured, kitsch, ugly, oversaturated, grain, low-res, Deformed, blurry, bad anatomy, disfigured, poorly drawn face, mutation, mutated, extra limb, ugly, poorly drawn hands, missing limb, blurry, floating limbs, disconnected limbs, malformed hands, blur, out of focus, long neck, long body, ugly, disgusting, poorly drawn, childish, mutilated, mangled, old, surreal
Steps: 30, Sampler: Euler a, CFG scale: 7, Seed: 3331645590, Size: 768x768, Model hash: 4bdfc29c, Batch size: 8, Batch pos: 1, Variation seed: 2387469322, Variation seed strength: 0.05
Note that this doesn’t work with all samplers, with Euler a it seems to work quite well, however, some have
issues reproducing an image from the same seed when not generating an entire batch of images. (A solution here is to
build several batches of one image) Efficient samplers, which converge
after few steps, also generate wildly different images even with low variation (< 0.1). Hence, your milage might vary!
Another way to get different versions of the initial image is to vary the CFG Scale and the number of
Sampling Steps. Using the X/Y Plot script (which can be enabled at the very bottom of the text2img settings),
all combinations can be generated. Alternatively, you can skip through to step 4 and use img2img with high denoising
setting to generate variations.
Step 3: In-painting to correct mistakes
The rails in the above image are obviously incorrect, there is an extra rail we’ll need to instruct the AI to remove.
This is exactly what in-painting is designed to do, you paint over a specific part, provide a new prompt to cover that
up. Playing with the settings and being patient is important here. I masked the rail I didn’t want, and entered the
prompt ballast, pebbles, painting, fine-art, detailed as this is what I wanted to replace the rail with.
I tried with and without Inpaint at full resolution and ultimately landed on 0.9 for the Denoising
strength giving the AI a lot of freedom to change the image. For adding completely new content or removing something
setting Masked content to Latent noise or Latent nothing might help generating something not based
on the underlying image. In case you wish to remove something you can also move over to Lama Cleaner which is
excellent to quickly get rid of some unwanted items quickly.
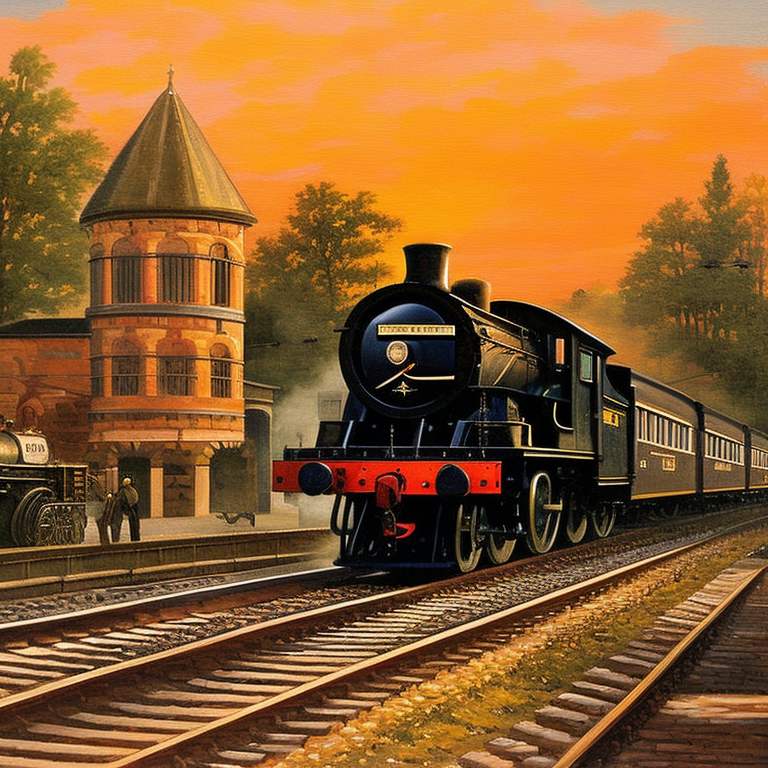
Now our image looks like this:
Removing the rail in the bottom corner using in-painting turned out to be much more cumbersome. Here I loaded the
image in GIMP and used the clone tool to copy over some grass. Next, using in-painting with a low Denoising
strength of 0.2 with a prompt of grass and dirt, some more variation in texture was added in again in this part of
the image.

Step 4: Img2Img to fine-tune the details
Now we move our image over to img2img to fine tune the details. Enter the original prompt again, set the Denoising
strength to a low value e.g. 0.1 to 0.4 to prevent the AI from changing too much and generate a few more images.
You’ll see that different iterations will have different aspects changed, some versions have better wheels, others
have better rails, more detail in the building, …
The tick here is to pick each image that has the best something (you can quickly drag and drop images to your Desktop). Load the images as different layers in GIMP, add a layer mask and paint in the parts of the image you wish to keep. Since there is very little difference between the images this should be very easy, and you don’t have to be super precise while painting.
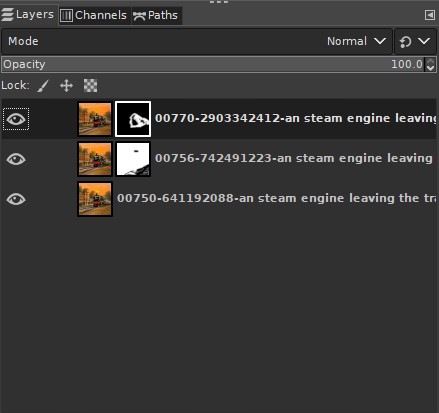
We’ll export the image from GIMP as we are getting close to the final version!

Step 3 and 4 can be repeated if needed.
Step 5: Up-scaling
SD2.1 allows us to start with an image that is 768x768 or larger, and hence has twice as many pixels as the 512x512 models, so up-scaling is considerably easier. Probably, sending the image over to Extras and selecting two methods will work nicely to bump the image size up 2x - 4x.

Stable Diffusion web UI also supports SD up-scaling in the img2img tab. This will chop up the image in smaller parts,
enlarge each, fill in details using img2img and combine them again. Make sure the Denoising strength is set to
a small value. Result here vary as img2img will also alter parts, even at low denoising values, and might undo our
earlier work in-painting and compositing.
Another option is to use ChaiNNer and create an up-scale workflow, this supports additional models for up-scaling which can be combined with other filters to improve the clarity or sharpness of the image. CupScale which also supports various neural up-scalers can be used here as well.
Step 6: Final cleanup
There are still a few spot where the image has items I don’t like, for instance the ornaments in front, the antenna in the back, … As I don’t want to replace them, simple remove them Lama Cleaner is easier and faster than SD in-painting (using the lama model).
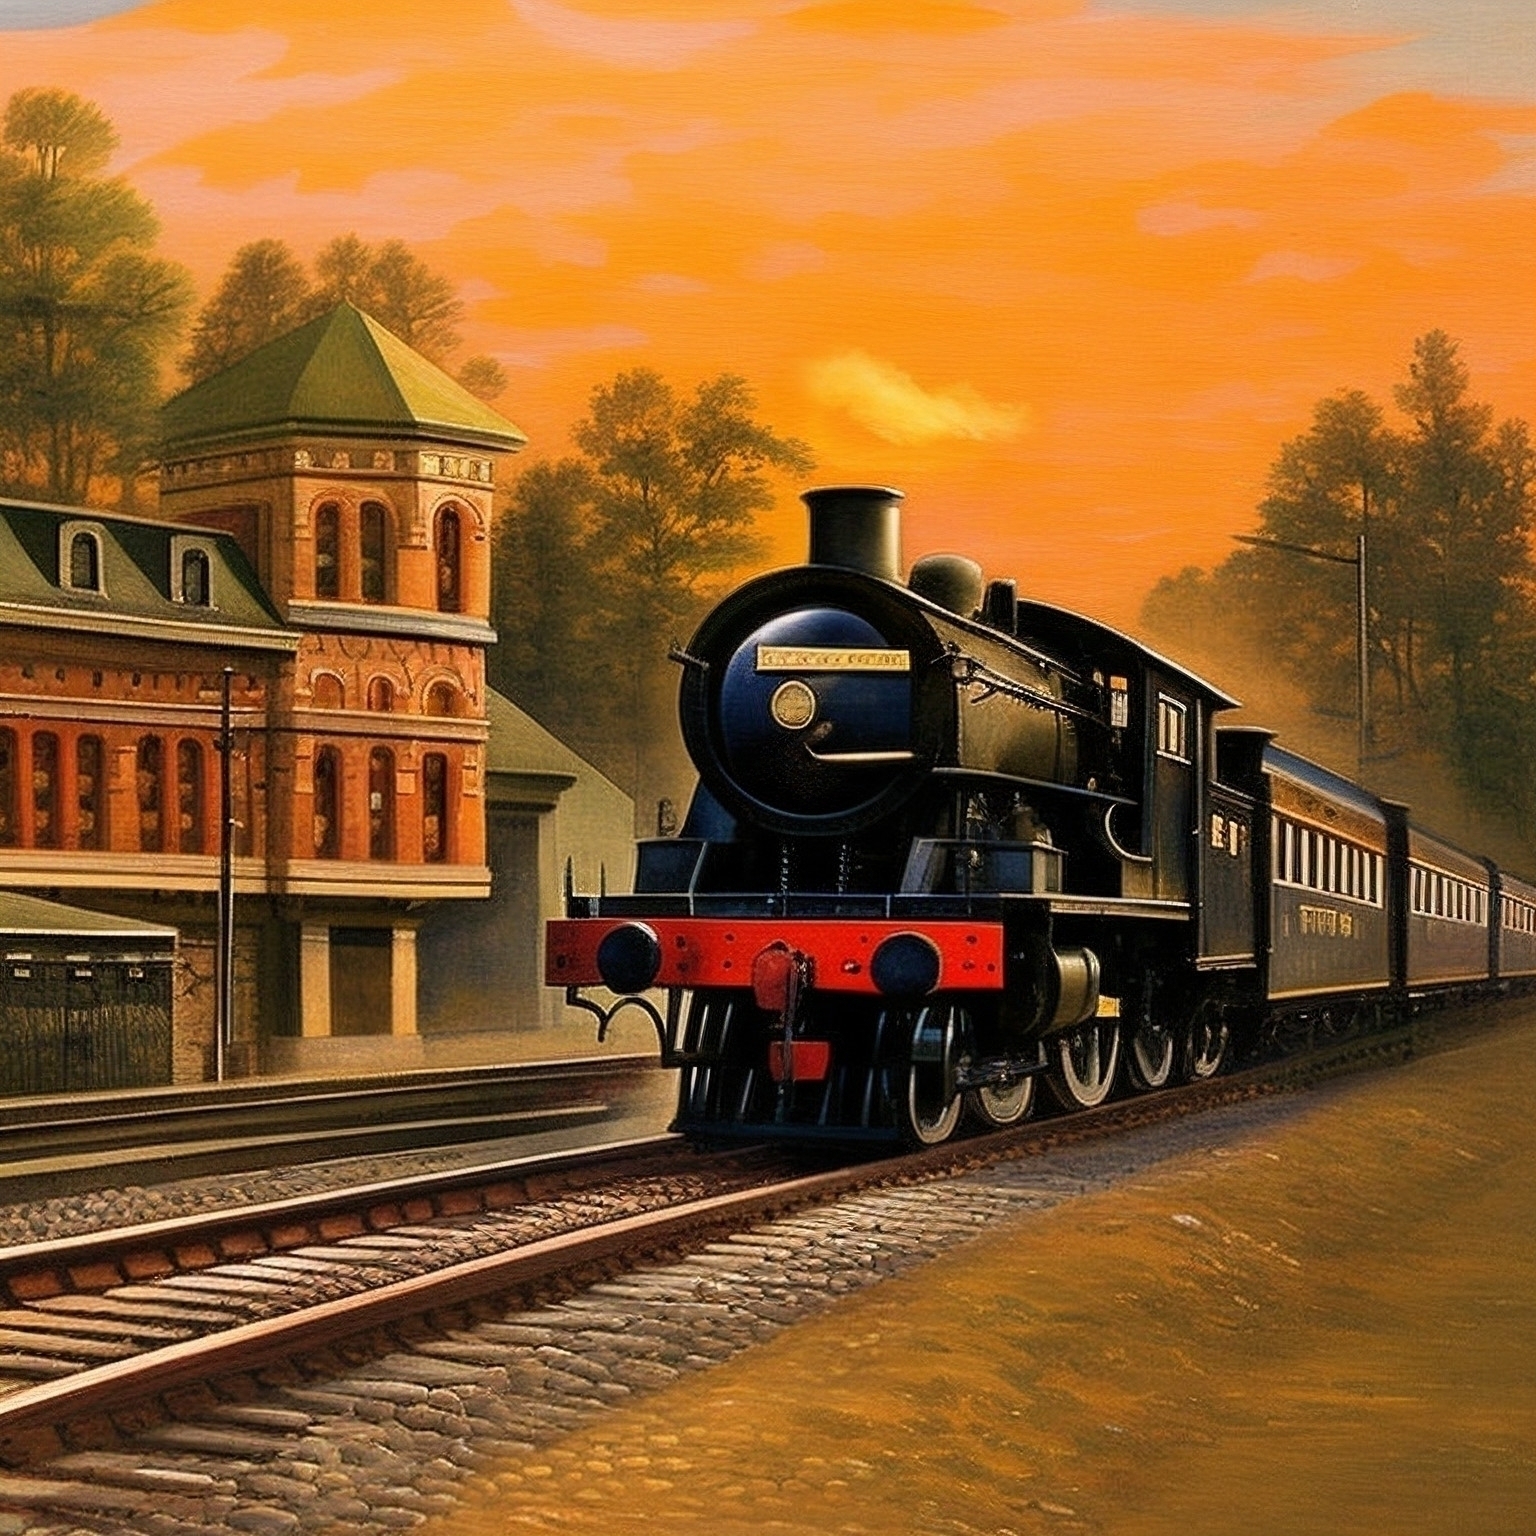
Conclusion
AI-generated art has the power to transform the way we create and view art. Our final image, reminiscent of the vintage box-art of model kits, is a testament to this. Without the help of AI tools, generating an image like this would have been impossible for me. However, while simply writing a prompt can lead to great results, it usually takes a bit more effort to get the image you desire. That’s why it’s important to keep experimenting withs setting and refining your images. Don’t be afraid to generate and re-generate your image multiple times until you’re satisfied with the outcome.
Liked this post ? You can buy me a coffee