Building a custom GMT watch
and swapping the crystal and date-wheel
With several custom watches under my belt, I felt ready to tackle a more advanced build. This project combines three new elements: building a GMT watch using the NH34 movement, upgrading the crystal, and customizing the date wheel. While these modifications require a few additional tools and introduce some new techniques, they’re excellent next steps for anyone comfortable with basic watch assembly.
The NH34 movement, a reliable Seiko clone that typically costs around $35-50, has become increasingly popular among DIY watchmakers for good reason. At its heart is the GMT complication - a fourth hand that rotates once every 24 hours to track a second time zone. Unlike basic three-hand watches, GMT watches can simultaneously display both local time (say, New York at 2:00 PM) and another time zone (like London at 7:00 PM) using this additional hand. This functionality made GMT watches essential tools for pilots since the 1950s, and they remain valuable for international business and travel today.
Beyond the GMT function, this build will introduce two key modifications: replacing the stock crystal with a double-domed version (which creates a subtle vintage effect), and swapping the date wheel to match our color scheme. The latter requires working directly with the movement’s components - a step up in difficulty from basic assembly - but manageable with patience and the right tools.

Tools Required
To build this watch, we’ll need the same tools as before, but also a few new ones. Here is a list of what I used:
Tools from the previous build:
- Hand Setting Tools
- Movement Holder and/or Case Cushion
- Rodico
- Tweezers
- Case Back Opener
- Spring Bar Tool
- Loctite
- Gasket Grease
- Loupe or Magnifying Glass (Optional)
New tools for this build:
- Crystal Press: Used to remove the old crystal and press in the new one.
- Precision Screwdriver Set: Used to open the movement remove the date wheel.
- 800 Grit Sandpaper: Used to dress the screwdriver to fit the screws.
- Calipers: Used to measure the crystal.
All these can easily be sourced from AliExpress or Amazon for relatively low cost. Even a simple crystal press can be had for around $10-20. For dipping your toes in the water, these tools are more than enough, but if you plan to do more builds, investing in higher quality tools could be worth it.
Parts Needed
- NH34 Movement: A Seiko clone with a GMT complication.
- Case: I opted for an Explorer II style case compatible with the NH34, which has a fixed bezel with the GMT markers. But any case that fits the NH34 movement will do.
- Bracelet/strap: A bracelet or strap that fits the case (My case came with a bracelet).
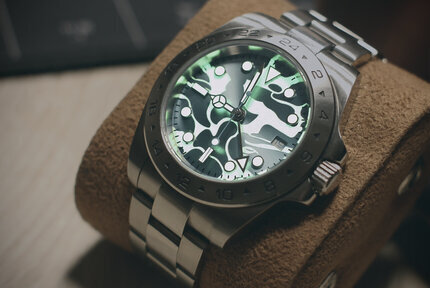
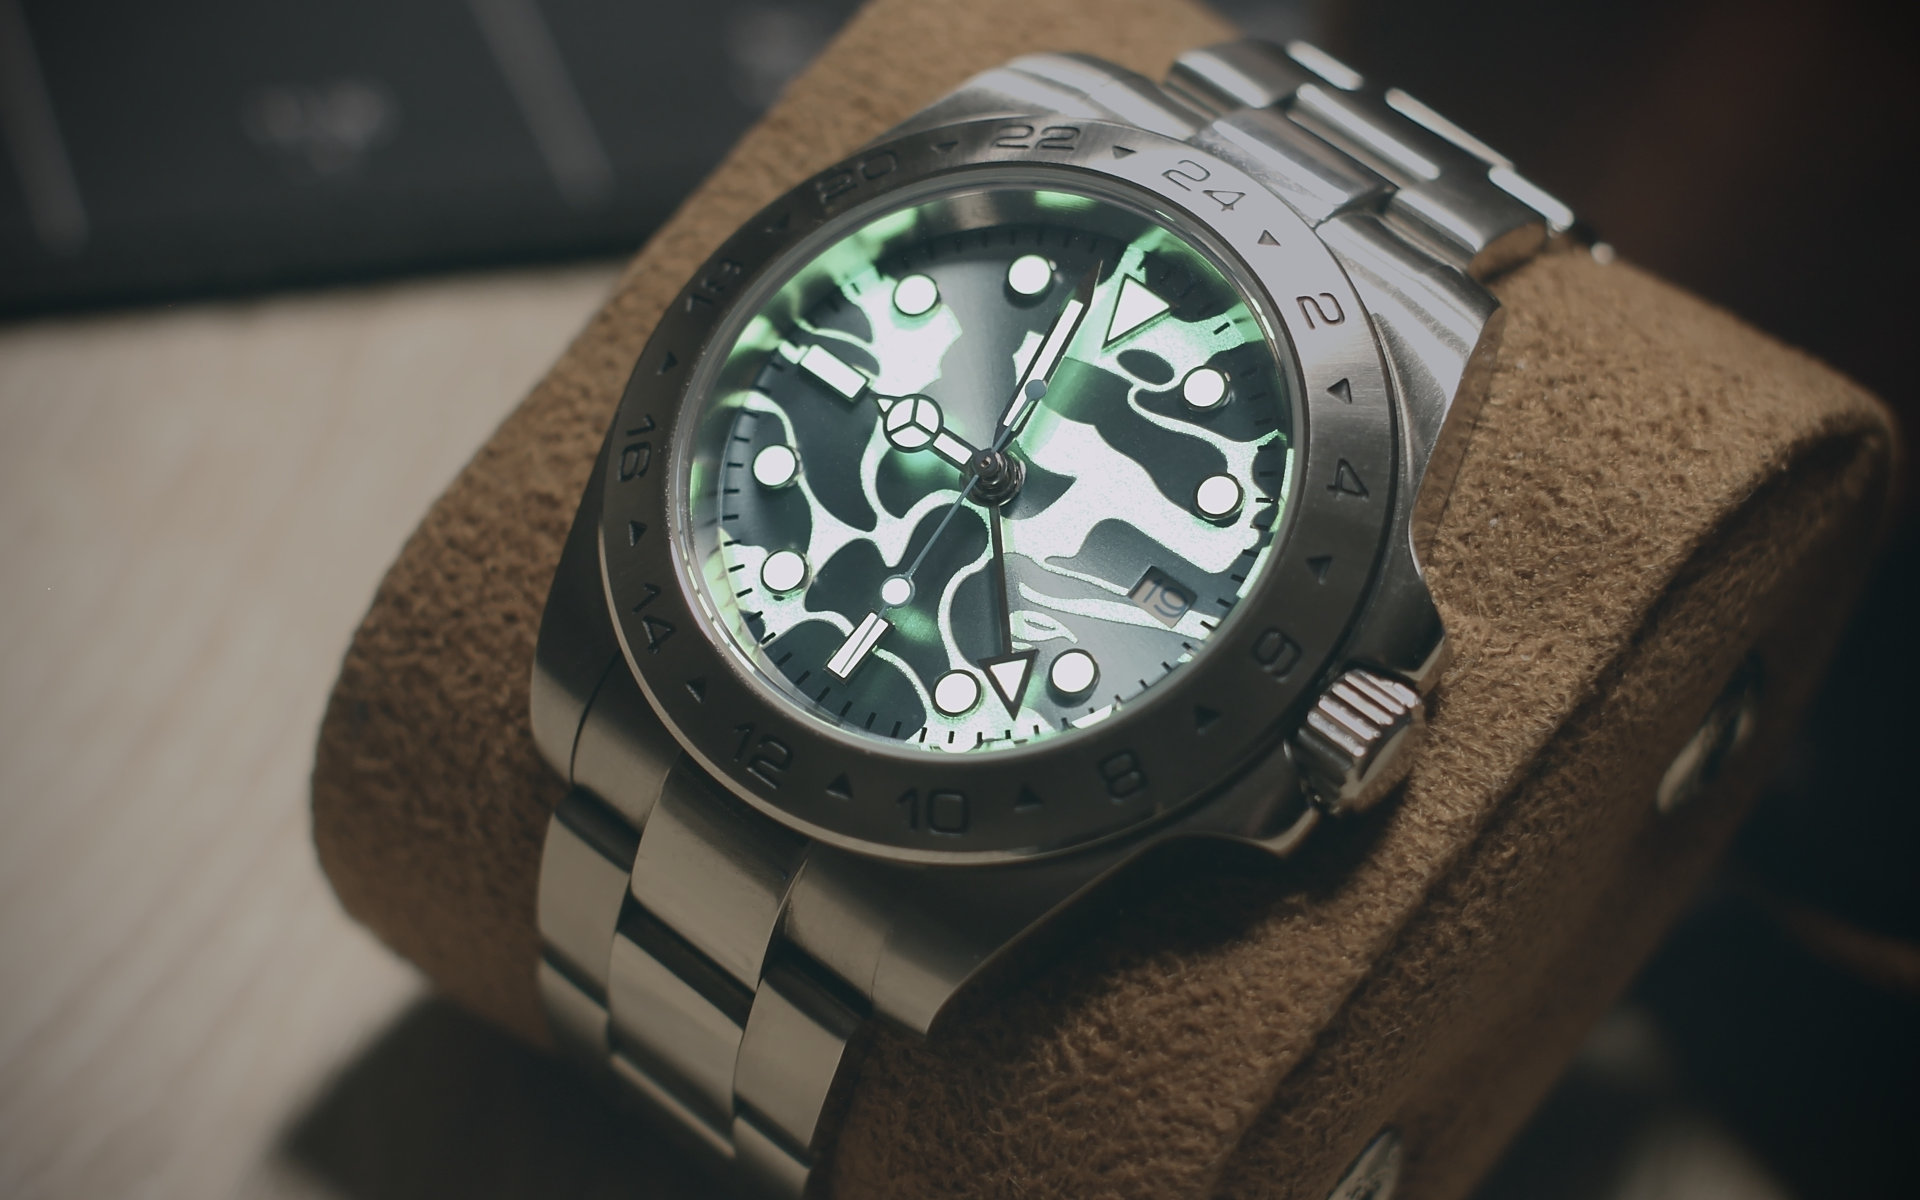
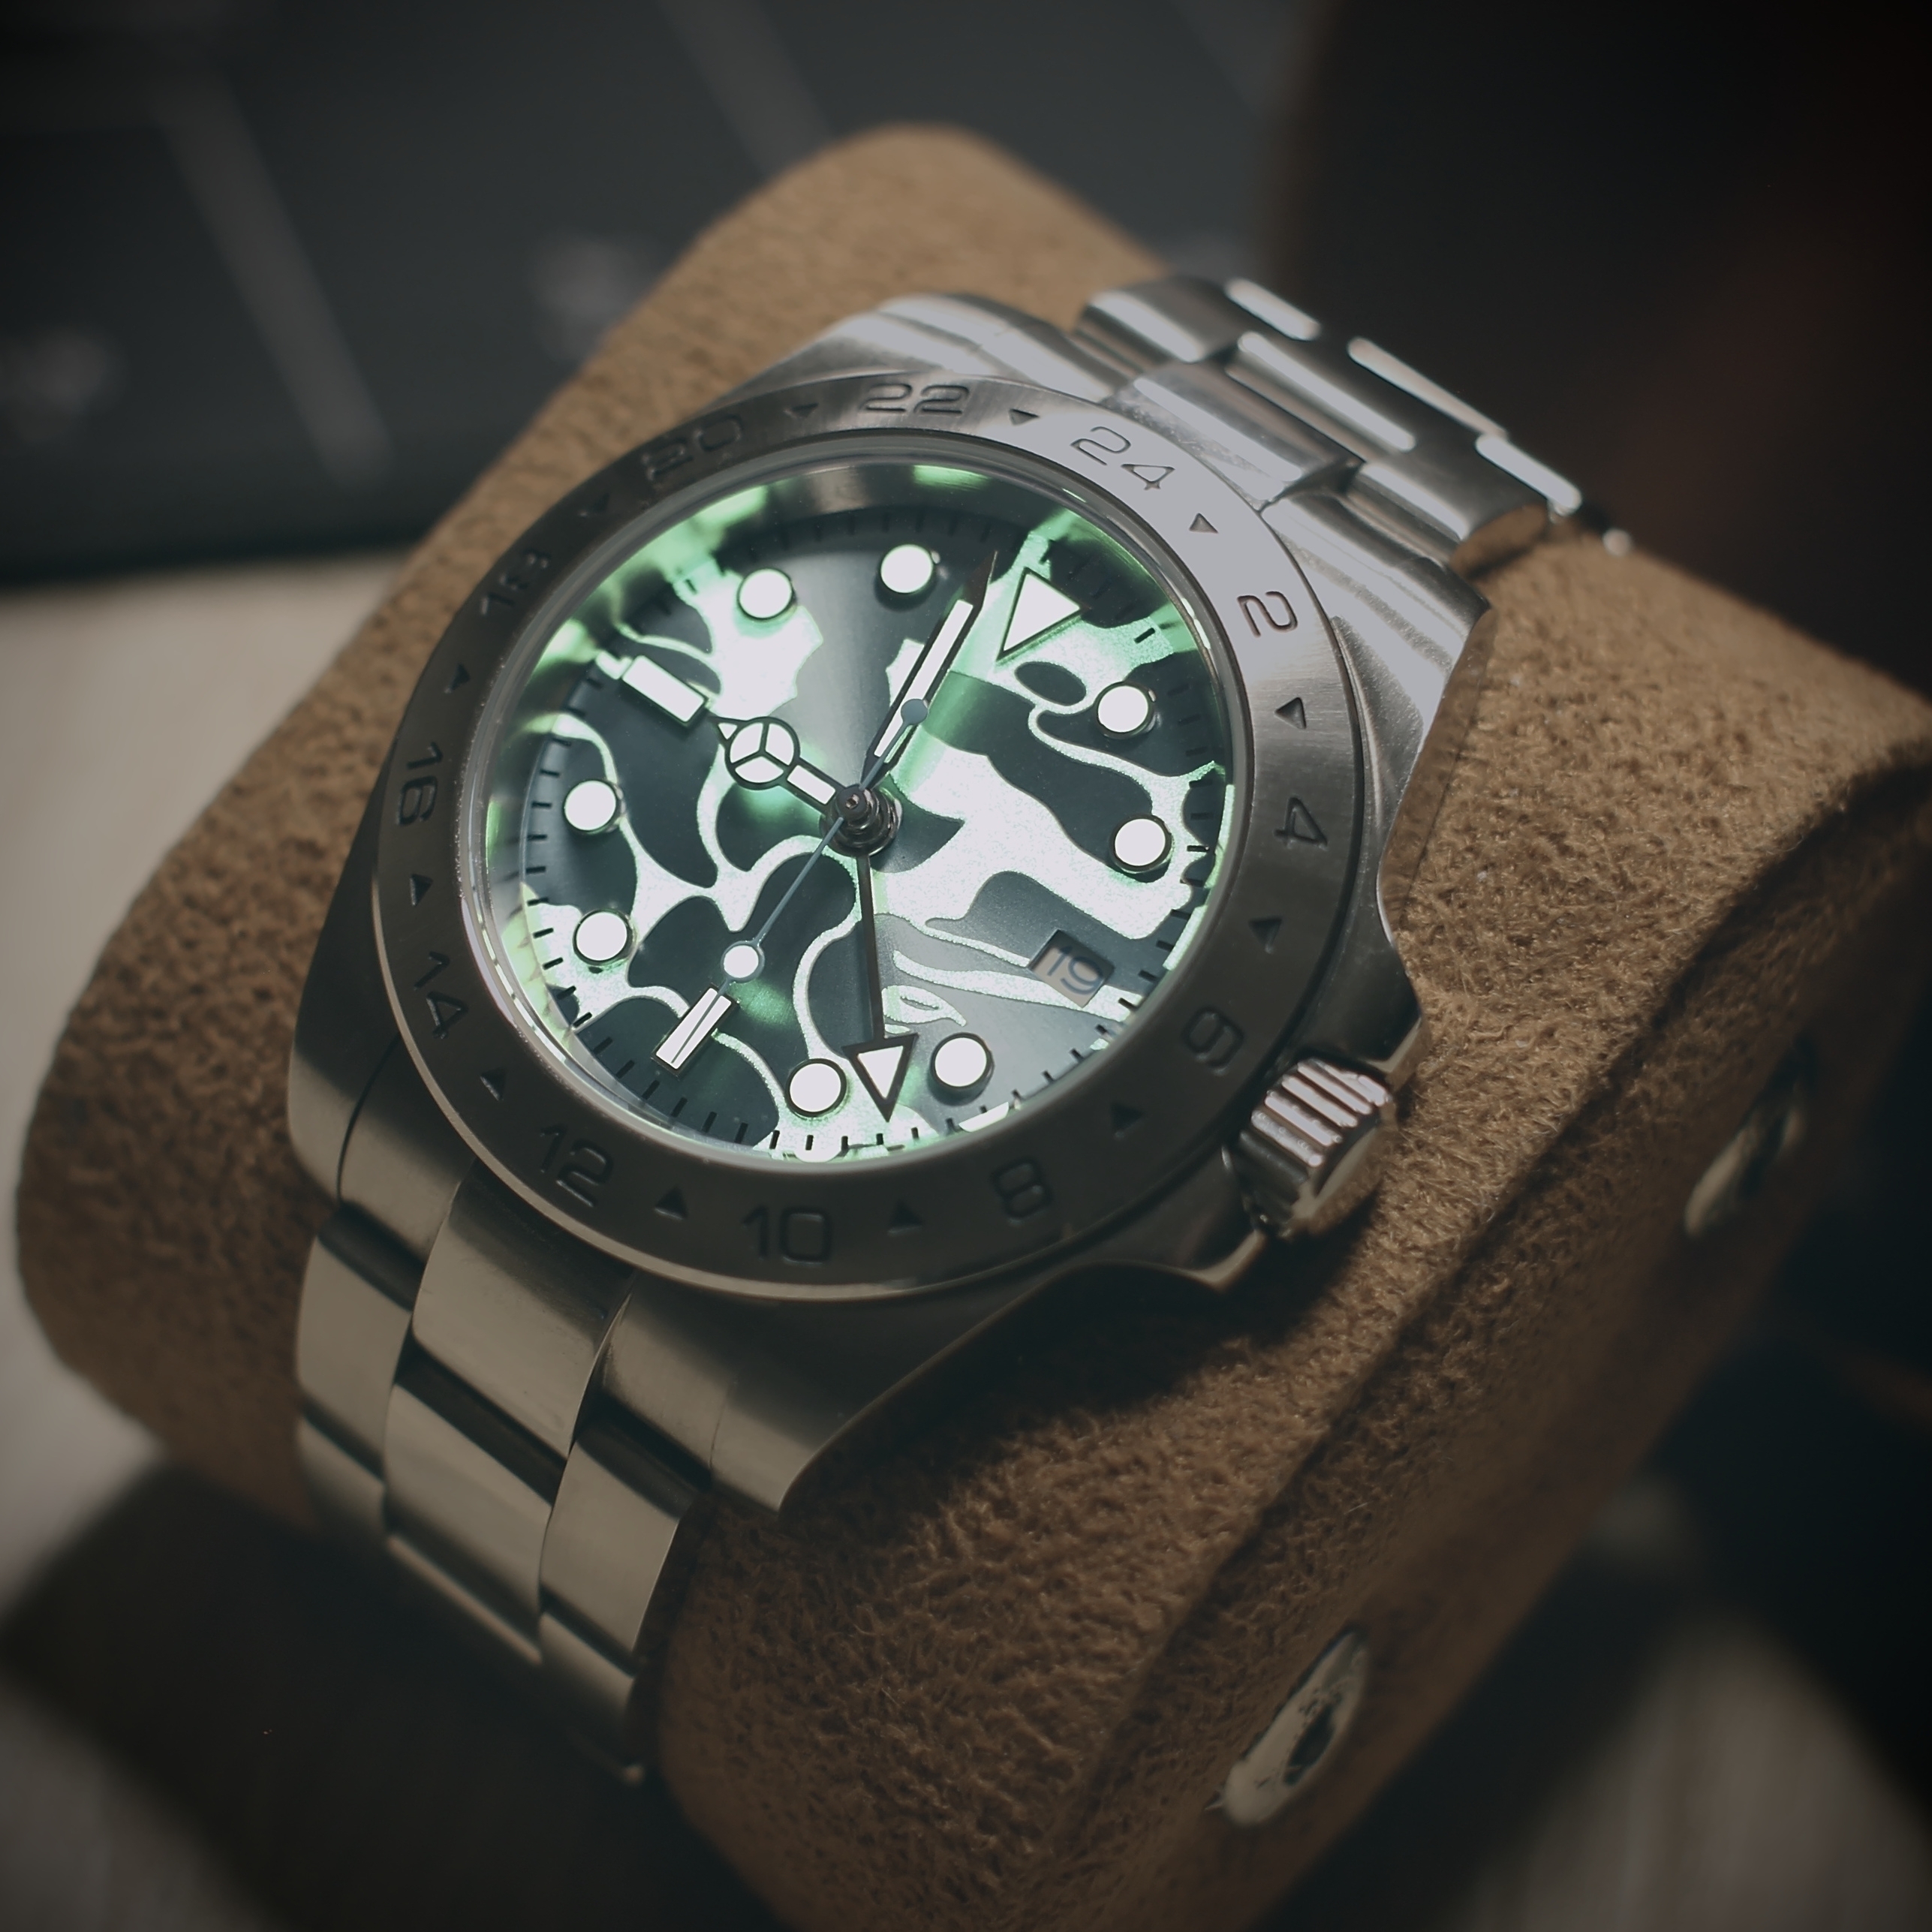
- Dial: A dial suited for the NH34 movement. You can use any dial that works with the NH35 movement, but you might need to drill or file the hole to fit the GMT pinion. For this build I opted for a light blue sunburst dial, which an icy loom applied on the face of the dial itself. It has submariner style markers and a date window at 3 o’clock.
- Hands: A set of hands that fit the NH34 movement. The hour/minute/second hands are the same as for the NH35, but you will need a GMT hand. (I got a set of Mercedes hands with a matching GMT hand).
- Date Wheel: A date wheel that fits the NH34/NH35/NH36 movement. I used a white date wheel with blue lettering to match the dial.
- Crystal: A crystal that fits the case. I used a double domed mineral glass with a blue AR coating. (for my case it was 30.5 mm diameter with a 1.5 mm thickness) While sapphire crystals are more scratch-resistant, they are also considerably more expensive.
- Crown stems: A set of crown stems that fit the NH34 movement, it is good to have a few spares. While these should be the same as for the NH35, the ones I had from previous builds did not work. Make sure to order some that explicitly mention they are compatible with the NH34 movement.
Replacing the Crystal
The first step is to remove the old crystal. This is done by pressing the crystal out of the case. The crystal press comes with dies (nylon disks that will hold the case in place and push the crystal out), and you need to find the right size for your case. Put the case bottom up in the press, ensure the die size is correct and press the crystal out. Be careful not to press too hard, as you might damage the case. It doesn’t require that much force, so if it doesn’t move, check if the die is correctly sized and placed.
Once the crystal is out, take your calipers and measure the diameter and thickness of the crystal. You will need this information to order a new crystal. I ordered a double domed mineral crystal with a blue AR coating. The AR coating will give the crystal a blue tint, and it will reduce reflections.
Note: Always round measurements to the nearest 0.1mm when ordering. For example, if you measure 30.52mm, order a 30.5mm crystal.
To install the new crystal, put the case bottom down in the press, put the new crystal in ensure the die is correctly sized, and press the crystal in. Again, be careful not to press too hard, as you might damage the crystal, the case or the press itself. You might need to turn the case a bit and press multiple times to ensure even pressure so the crystal is properly seated in the case. Before finalizing the press, carefully inspect the crystal and case for any trapped dust or smudges. Use a blower or lint-free cloth to remove any debris, as this will help achieve a cleaner result.
If you have the equipment to test if the case is still waterproof, you can do that now. I don’t have that equipment, so I put the case (with crown screwed in and back closed) submerged in a glass of water for a few hours to see if any water would get in. Which would make the watch water-resistant enough for my everyday use (I don’t take showers with a watch, nor do I wear one when swimming). If you do this, make sure to dry the case thoroughly before proceeding.
Swapping the Date Wheel
To remove the date wheel, the movement needs to be opened, which is done by unscrewing four small screws on the front of the movement. These screws are tiny, so you need a precision screwdriver set to remove them. The screws are also very tight, so you might need to dress the screwdriver to fit the screws. This is done by sanding the tip of the screwdriver with 800 grit sandpaper until it fits the screw.
Once the screws are removed, the top plate (the date indicator plate) can be removed carefully (I picked it up using some Rodico). Once this plate is removed, the date wheel can be removed by carefully lifting it out of the movement. Be careful as with this plate removed, other parts like the 24-hour wheel, date jumper can easily fall out of the movement. The new date wheel can be installed by carefully placing it in the movement. Ensure that the lever from the date jumper is set correctly and put the top plate back on. Screw the four screws back in, tighten them carefully until they are snug, but don’t over-tighten them. Now test the date function (and other complications) to ensure it works correctly.

Here it really pays off to look at the NH34 technical documentation, which can be found online. It will show you which parts are where, and how they should be placed. It will also show you how the date wheel is installed.
Building the Watch
With the case and movement now ready, it is time to build the watch. Which at this point is similar to previous builds. The dial is placed on the movement after removing the feet which aren’t needed, and the hands are installed (note that the NH34 requires a dial spacer that should come with the movement, the technical docs show the correct orientation). The GMT hand is installed first on the GMT pinion. This requires some precision, as the hand needs to be installed without touching the dial or the other hands. The hour/minute/second hands are installed as before, and the date is set. The movement is then put in the case, and the case back is closed. Finally, the bracelet/strap can be attached to complete the build.

Conclusion
Building a GMT watch is a bit more challenging than building a regular three-hand watch, and requires a bit more precision installing the hands. The custom crystal and date-wheel do push the difficulty of this build to add subtle personal touches to the watch, and make it unique. I’m also increasingly impressed with how robust the NH-series movements are! There were a few points during the build process I was scared I might have damaged the movement, but it kept on ticking. So don’t be afraid to try new things with these movements, they are quite forgiving, just take it slow and be careful.
For me, this GMT watch now completes my collection of custom watches, and I’m quite happy with the results. I would like to try swapping the rotor on one of them, and learn how to properly regulate these movements, but that will be for another time. I hope this post has inspired you to try building your own custom watch, and you’ll have fun doing it!
Bonus: Updated my Other Watches
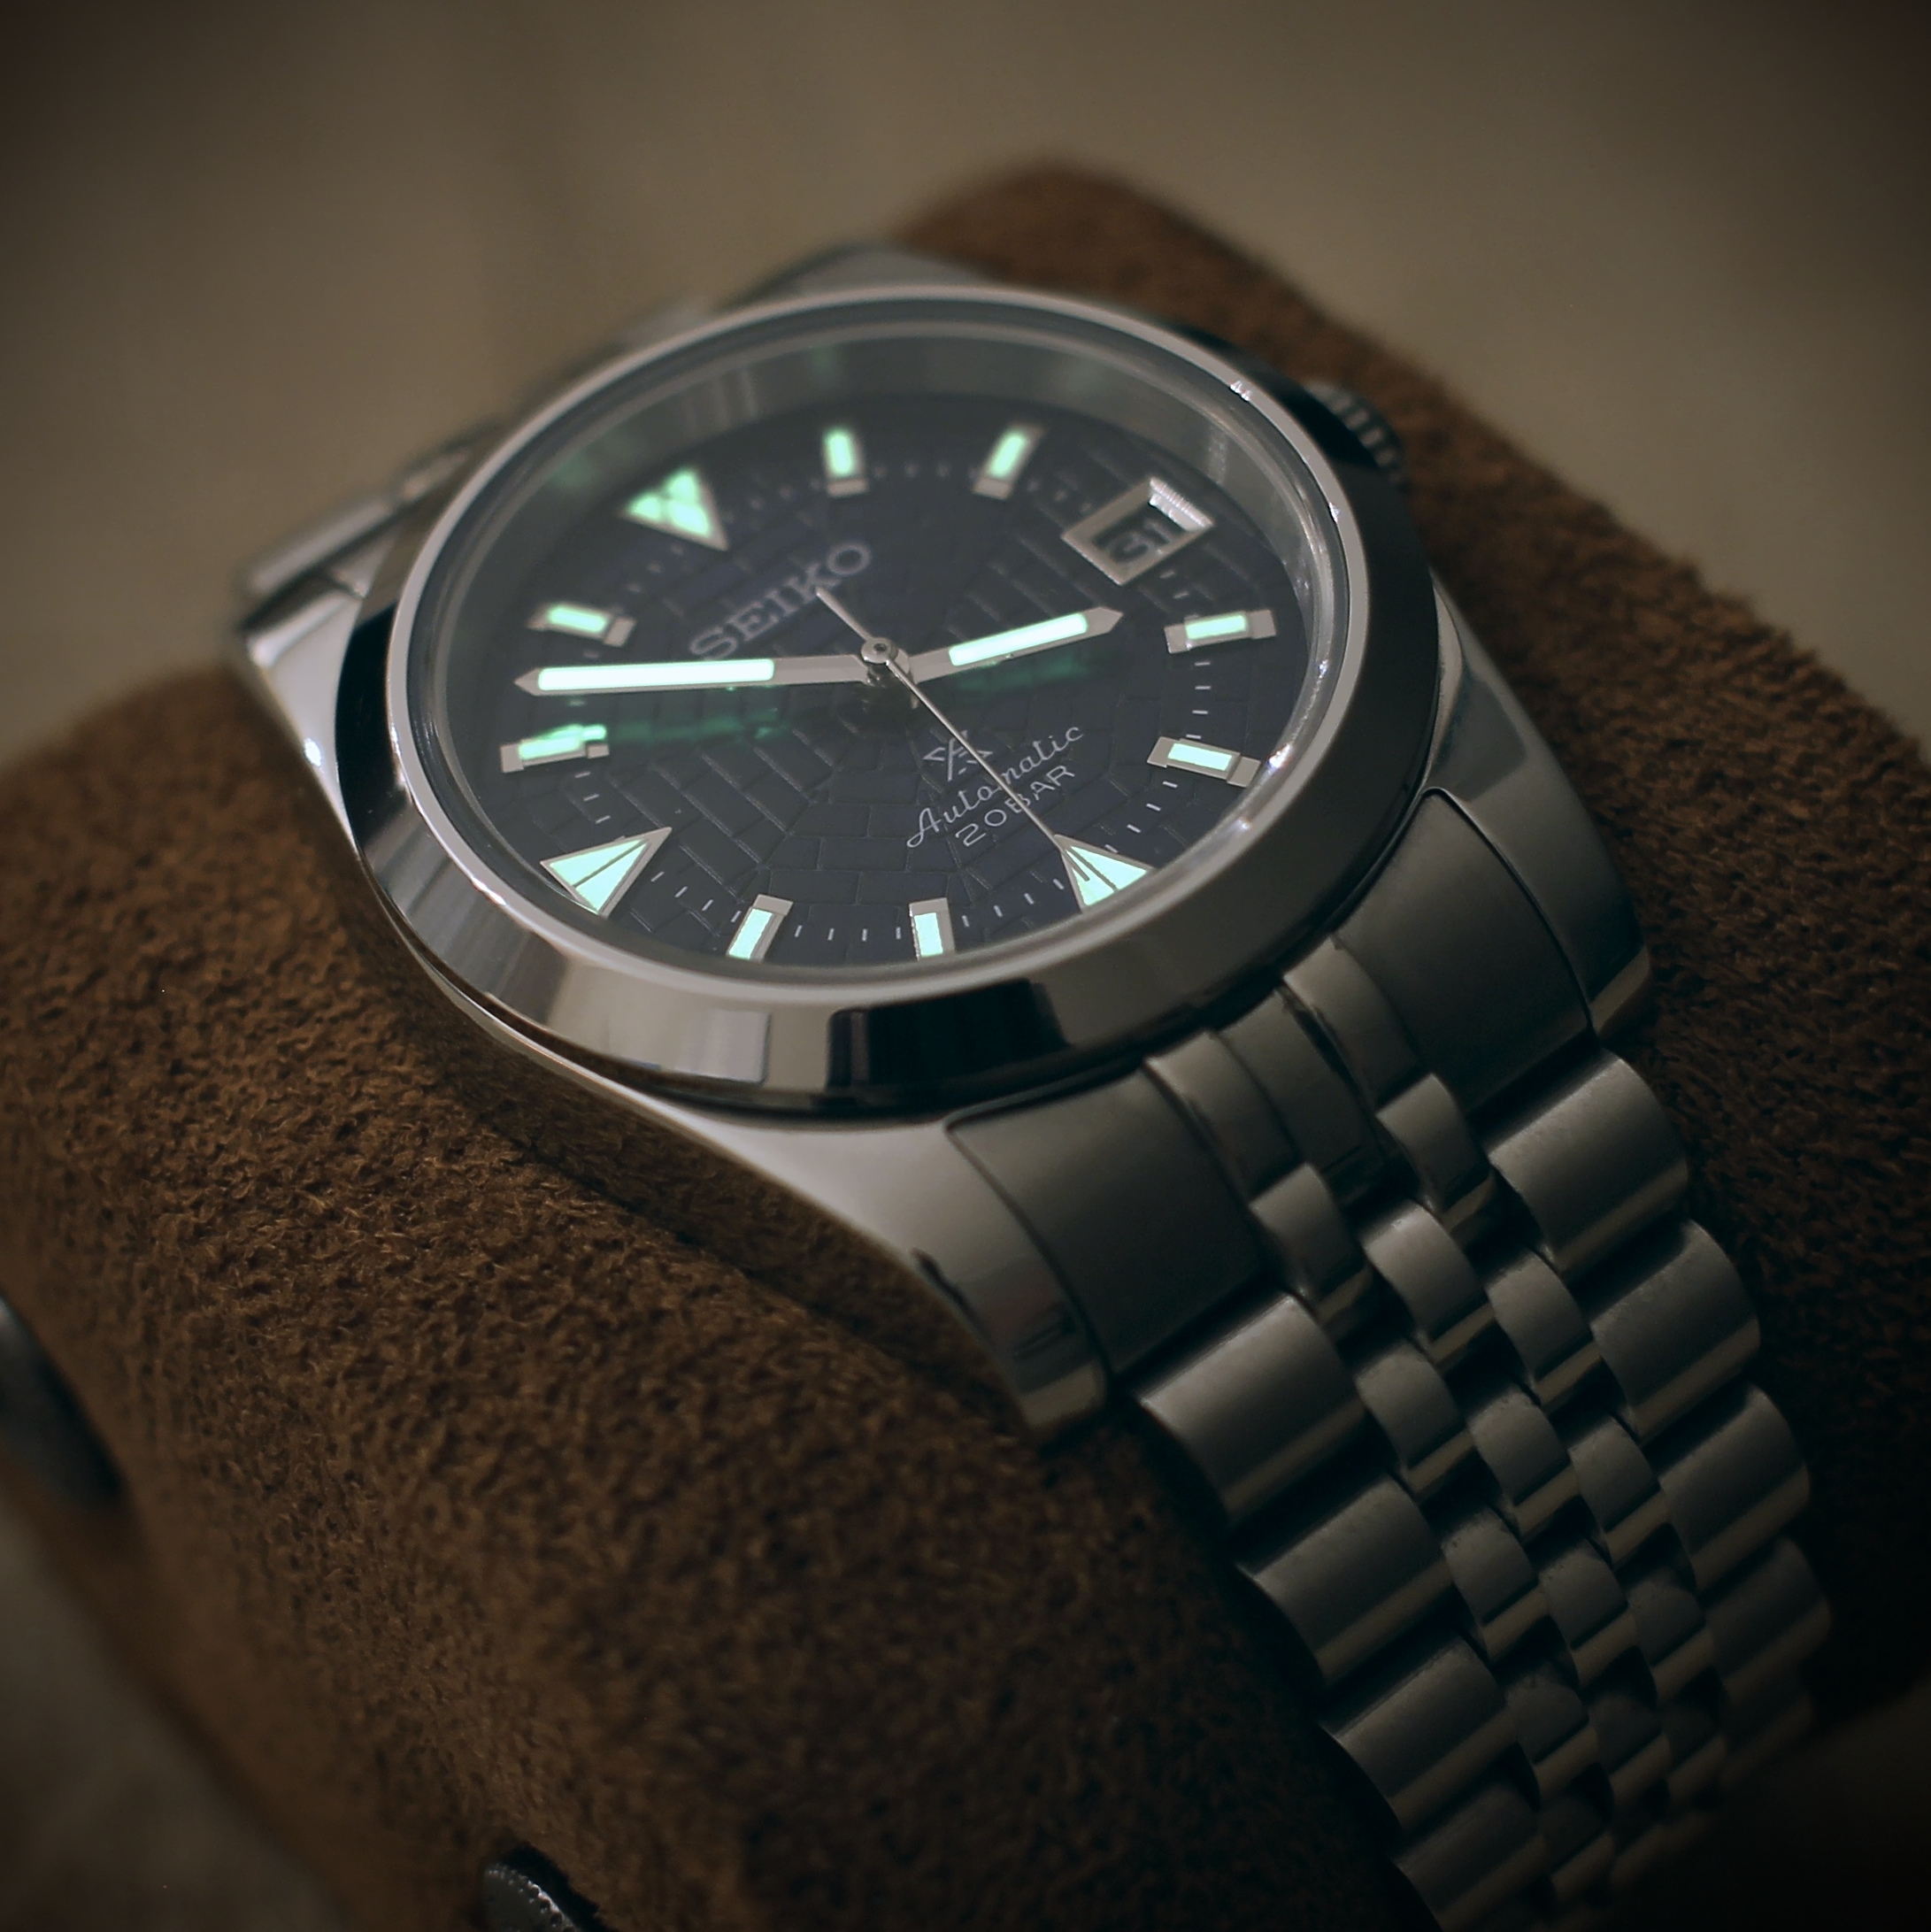
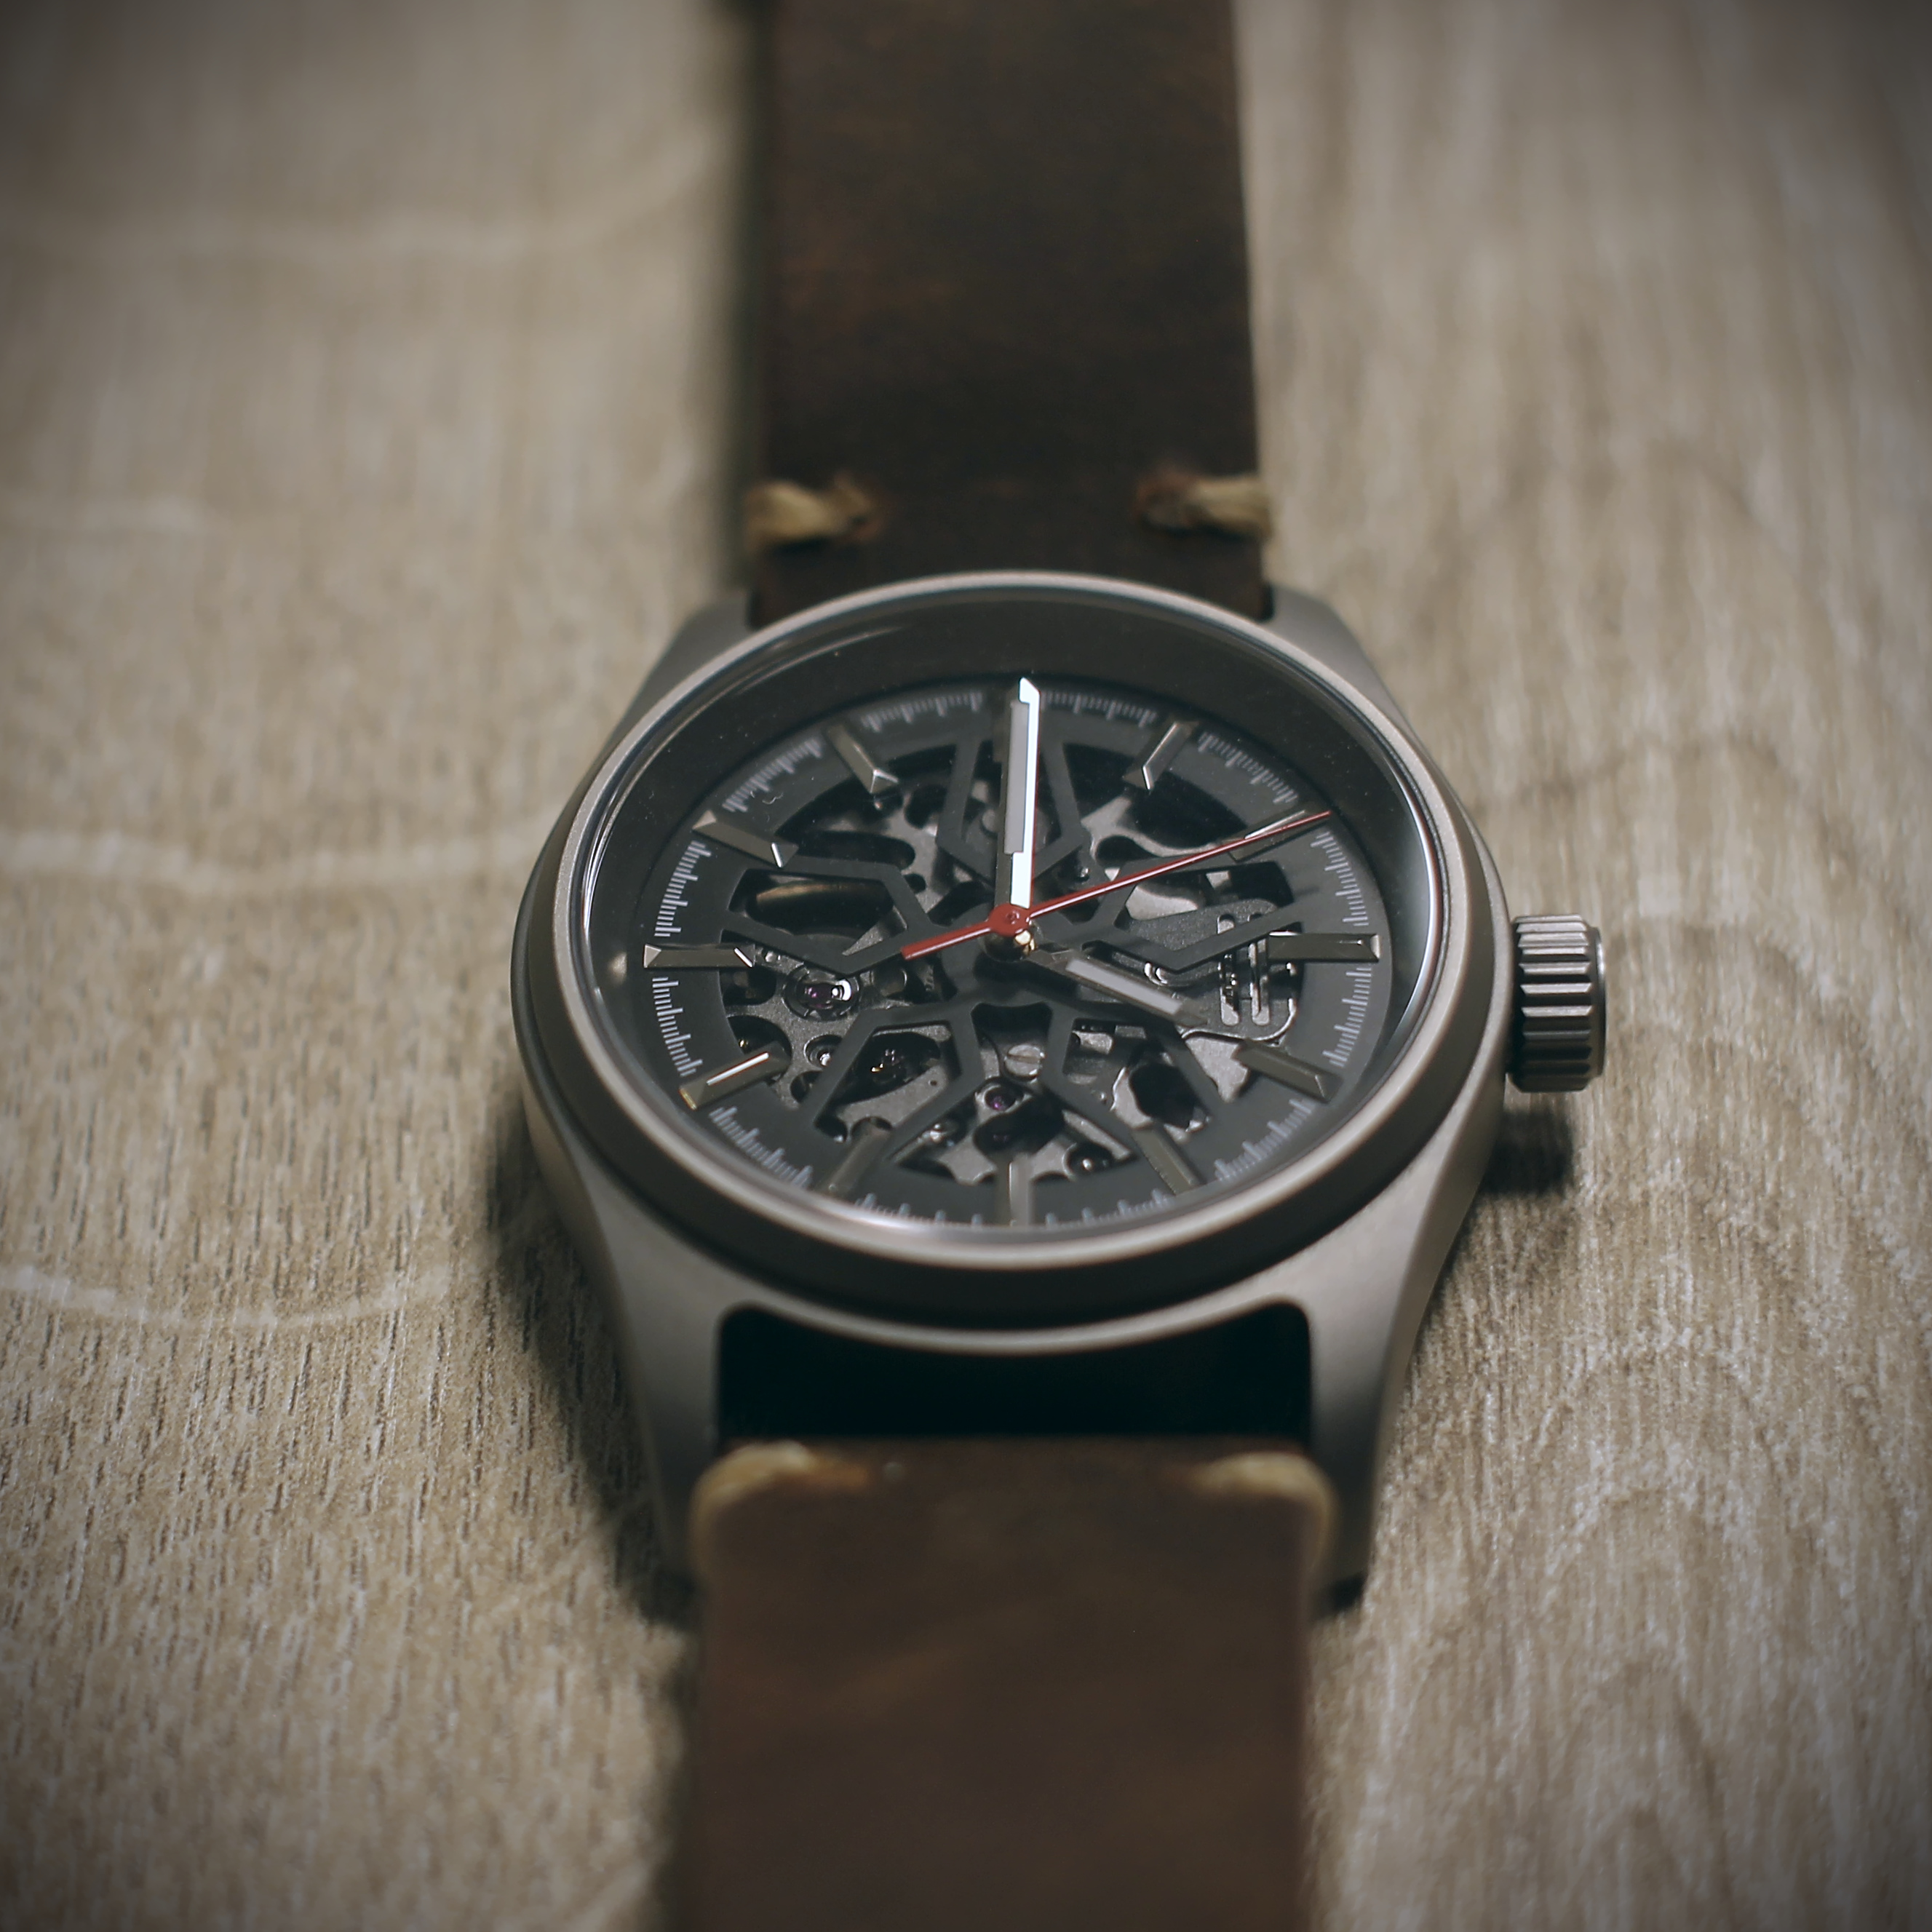
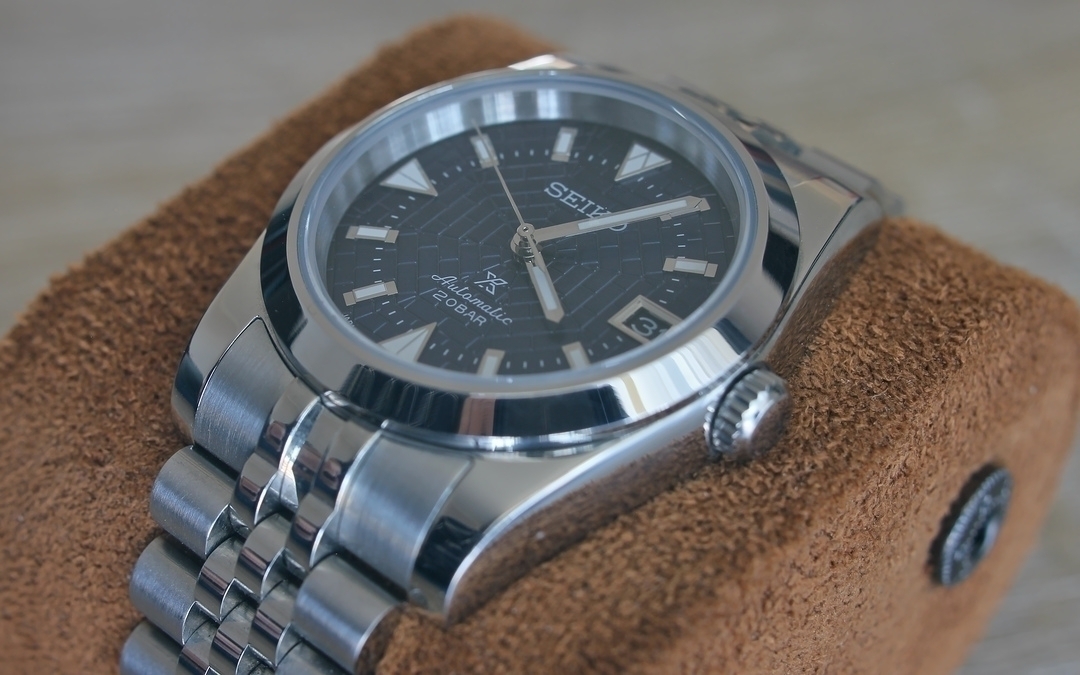
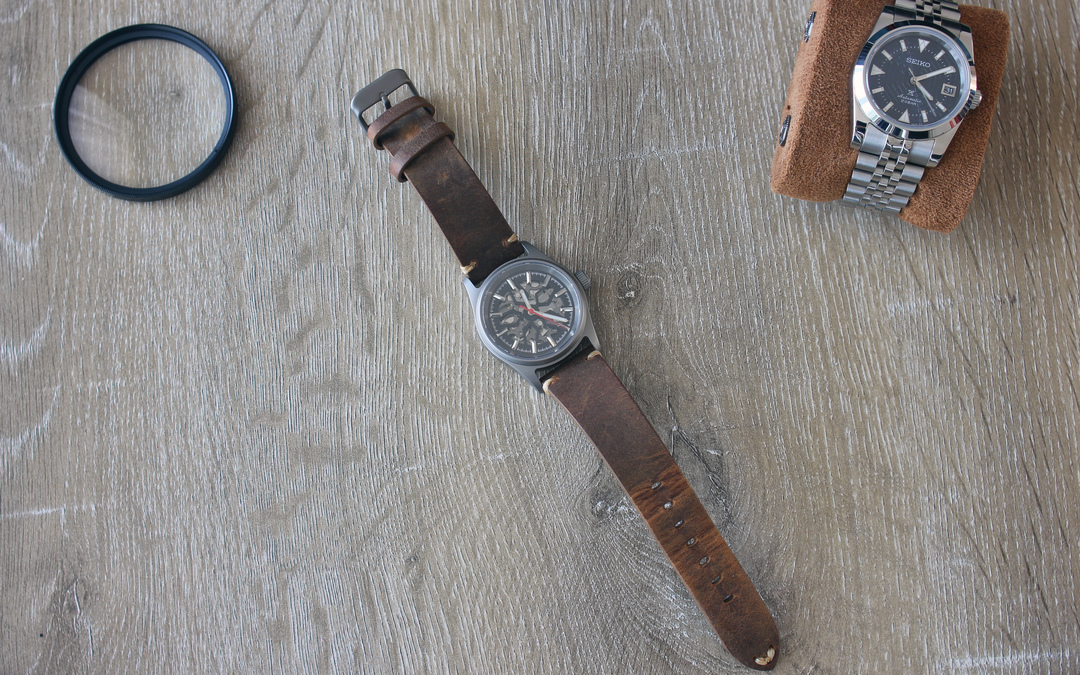
As I initially planned to build this watch with a jubilee bracelet. However, once things started to come together, I found this watch too sporty for that bracelet. So I swapped it with the oyster bracelet from my previous build! Now that watch has a more formal look, and I think it suits it better. I also updated the strap on my NH72 build for a rougher leather strap, which is a saturated brown that complements the red second hand. As a final touch, I swapped that strap’s clasp for a titanium one with the same finish as the case. Have a look at the results below, I’m very pleased with how they turned out!
Further Reading
- Building a custom mechanical watch: Details on my previous builds
- Replacing the date wheel on an NH35
- Builing an NH34 Two Tone Watch by jbwatchmods
- Explorer II GMT build by Elliot Coll
- NH36 Samurai style build which includes a crystal swap by LumeShot
- How to dress a screwdriver by WelwynWatches
Liked this post ? You can buy me a coffee