Printing Rise of the Keyraken with PrinterStudio/MPC
and FFG's other Print-and-Play assets
Do you want some professionally printed cards for Rise of the Keyraken? Here is how to prepare the Print-and-Play assets from Fantasy Flight Games for printing through a service like PrinterStudio or Make Playing Cards (MPC).
FFG has previously released Print-and-Play decks for KeyForge. The idea is that these PDFs can be printed with any home printer and with a bit of work cut into individual cards, pushed into a sleeve with an actual card and played. This is a very cool idea that allows potential players to check out the game before committing money. Though as printing 37 cards through PrinterStudio or MPC costs about the same as an actual KeyForge deck it doesn’t make much sense to go through a service to print those decks.
For the KeyForge Adventures, Rise of the Keyraken being the first, this is different. This set of cards is unlike any normal KeyForge deck and is intended to allow up to three players to fight an ancient horror, the Keyraken, together. So there is no similar product in the store you can go out and buy, so if you don’t want to go full DIY, printing the cards through a service becomes interesting. Though there are a few steps to get the images in the right resolution and size and to make sure the cards look as good as possible!
Download the data
FFG releases their Print-and-Play content as PDFs available from here (Scroll down to the Support section). You’ll need to download from the KeyForge Adventures Print-and-Play Materials a few files:
Also make sure to grab the rules as there are a few things different from a normal game of KeyForge.
Preparing images for printing
For printing through a service these PDFs are not directly usable, they need to converted to individual images first and there needs to be a bleed area around the card. The latter is a bit of extra border that is printed around each card so that when they are cut there is no unprinted area around the card that can show when the cut is ever so slightly off-center.
Fortunately with a little Python code this can be done. Extracting the images is trivial using the pdf2jpg package in
a few lines of code. Note that I put the downloaded files in a ./data/ folder and created a directory ./output/
for the results to be stored.
from pdf2jpg import pdf2jpg

inputpaths = [
    "./data/kf_adv_keyraken_tide.pdf",
    "./data/kf_adv_keyraken_keyraken.pdf",
    "./data/kf_adv_keyraken_card_pool_compressed.pdf"]

outputpath = "./output/"

for inputpath in inputpaths:
    print(f"Converting {inputpath}....")
    result = pdf2jpg.convert_pdf2jpg(inputpath, outputpath, dpi=1200, pages="ALL")

print("Done !")
This will create a folder in the ./output/ directory for each of the files containing a jpg for each page of the
PDFs. Here pages are exported as 1200 dpi which is plenty for printing (the cards are printed at 800 dpi), though the
bleed area needs to be added and, the size needs to be exactly 3288 by 4488 pixels.
Manipulating images in Python can be done using the library Pillow, so make sure that is installed before running the code below.
The code below will look at all files in a list of input_directories and add the bleed area. It will start by
creating a blank image with the target_size, and draw the image smack in the middle. Next the left border from the
image is copied, flipped horizontally and put it in the right spot. This is repeated for the right side. Now the area
for the top is copied (which includes the left and right bleed area already added), flipped vertically and placed above,
finally this step is repeated for the bottom. You can see the image being build step-by-step in the GIF below.
Code wise this isn’t really hard, though it takes some thinking to make sure you grab the right portions of the image and paste them in the right spot. There is a little trial-and-error involved to get the right coordinates to make everything fit and, it is easy to be off by a single pixel. When writing code to manipulate images make sure to run it and inspect the image when zoomed in, single pixel error might not be visible if the image is scaled down!
from PIL import Image, ImageOps
import os

input_directories = ["./data/kf_adv_keyraken_tide.pdf_dir",
                     "./output/kf_adv_keyraken_card_pool_compressed.pdf_dir"]
output_directories = ["./data/kf_adv_keyraken_tide_eng",
                      "./output/kf_adv_keyraken_card_pool_compressed_eng"]

target_size = (3288, 4488)

for input_dir, output_dir in zip(input_directories, output_directories):
    try:
        os.mkdir(output_dir)
    except:
        pass

    for card_image in os.listdir(input_dir):
        card_path = os.path.join(input_dir, card_image)
        card_output_path = os.path.join(output_dir, card_image)

        background = Image.new("RGB", target_size, (255, 255, 255))
        background_w, background_h = background.size

        card = Image.open(card_path)
        card_w, card_h = card.size

        pos_x = (background_w - card_w) // 2
        pos_y = (background_h - card_h) // 2

        offset = (pos_x, pos_y)

        background.paste(card.crop((0, 0, card_w - 1, card_h)), offset)
        background.paste(ImageOps.mirror(card.crop((0, 0, pos_x, card_h))), (0, pos_y))
        background.paste(ImageOps.mirror(card.crop((card_w-pos_x-3, 0, card_w-1, card_h))), (pos_x+card_w, pos_y))

        background.paste(ImageOps.flip(background.crop((0, pos_y, background_w, pos_y*2))),
                         (0, 0))
        background.paste(ImageOps.flip(background.crop((0, card_h, background_w, card_h+pos_y))),
                         (0, card_h+pos_y))

        background.save(card_output_path)
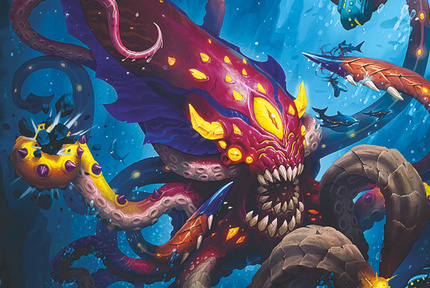
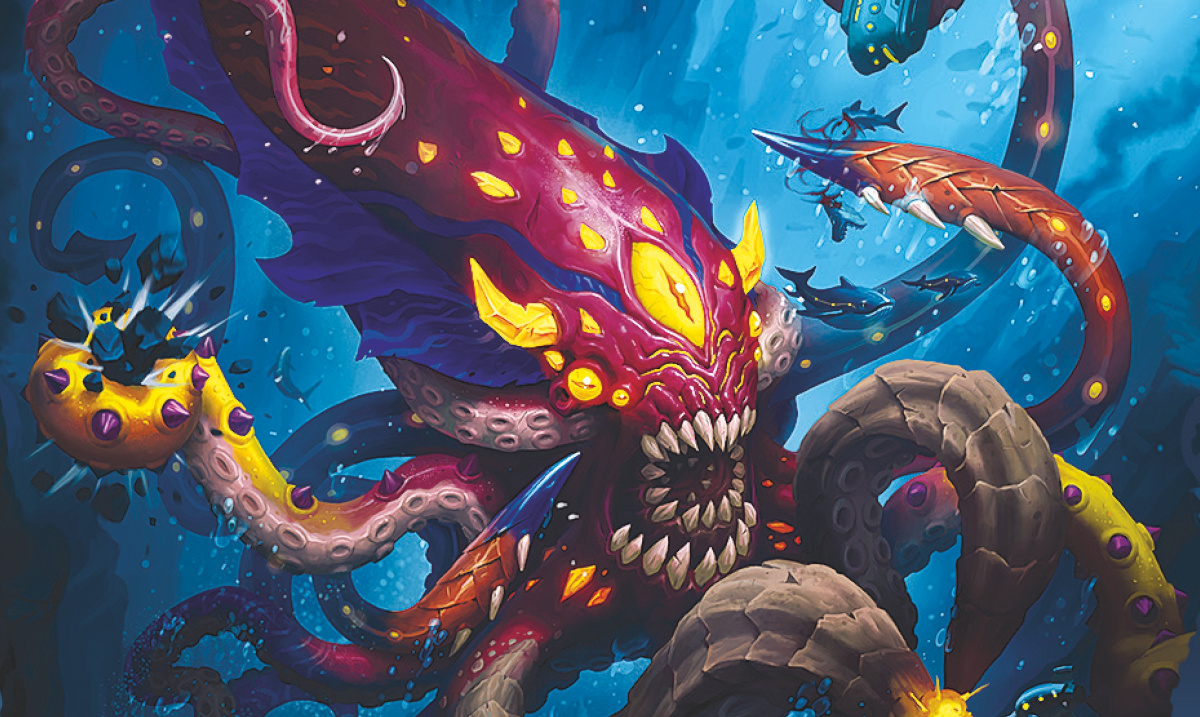
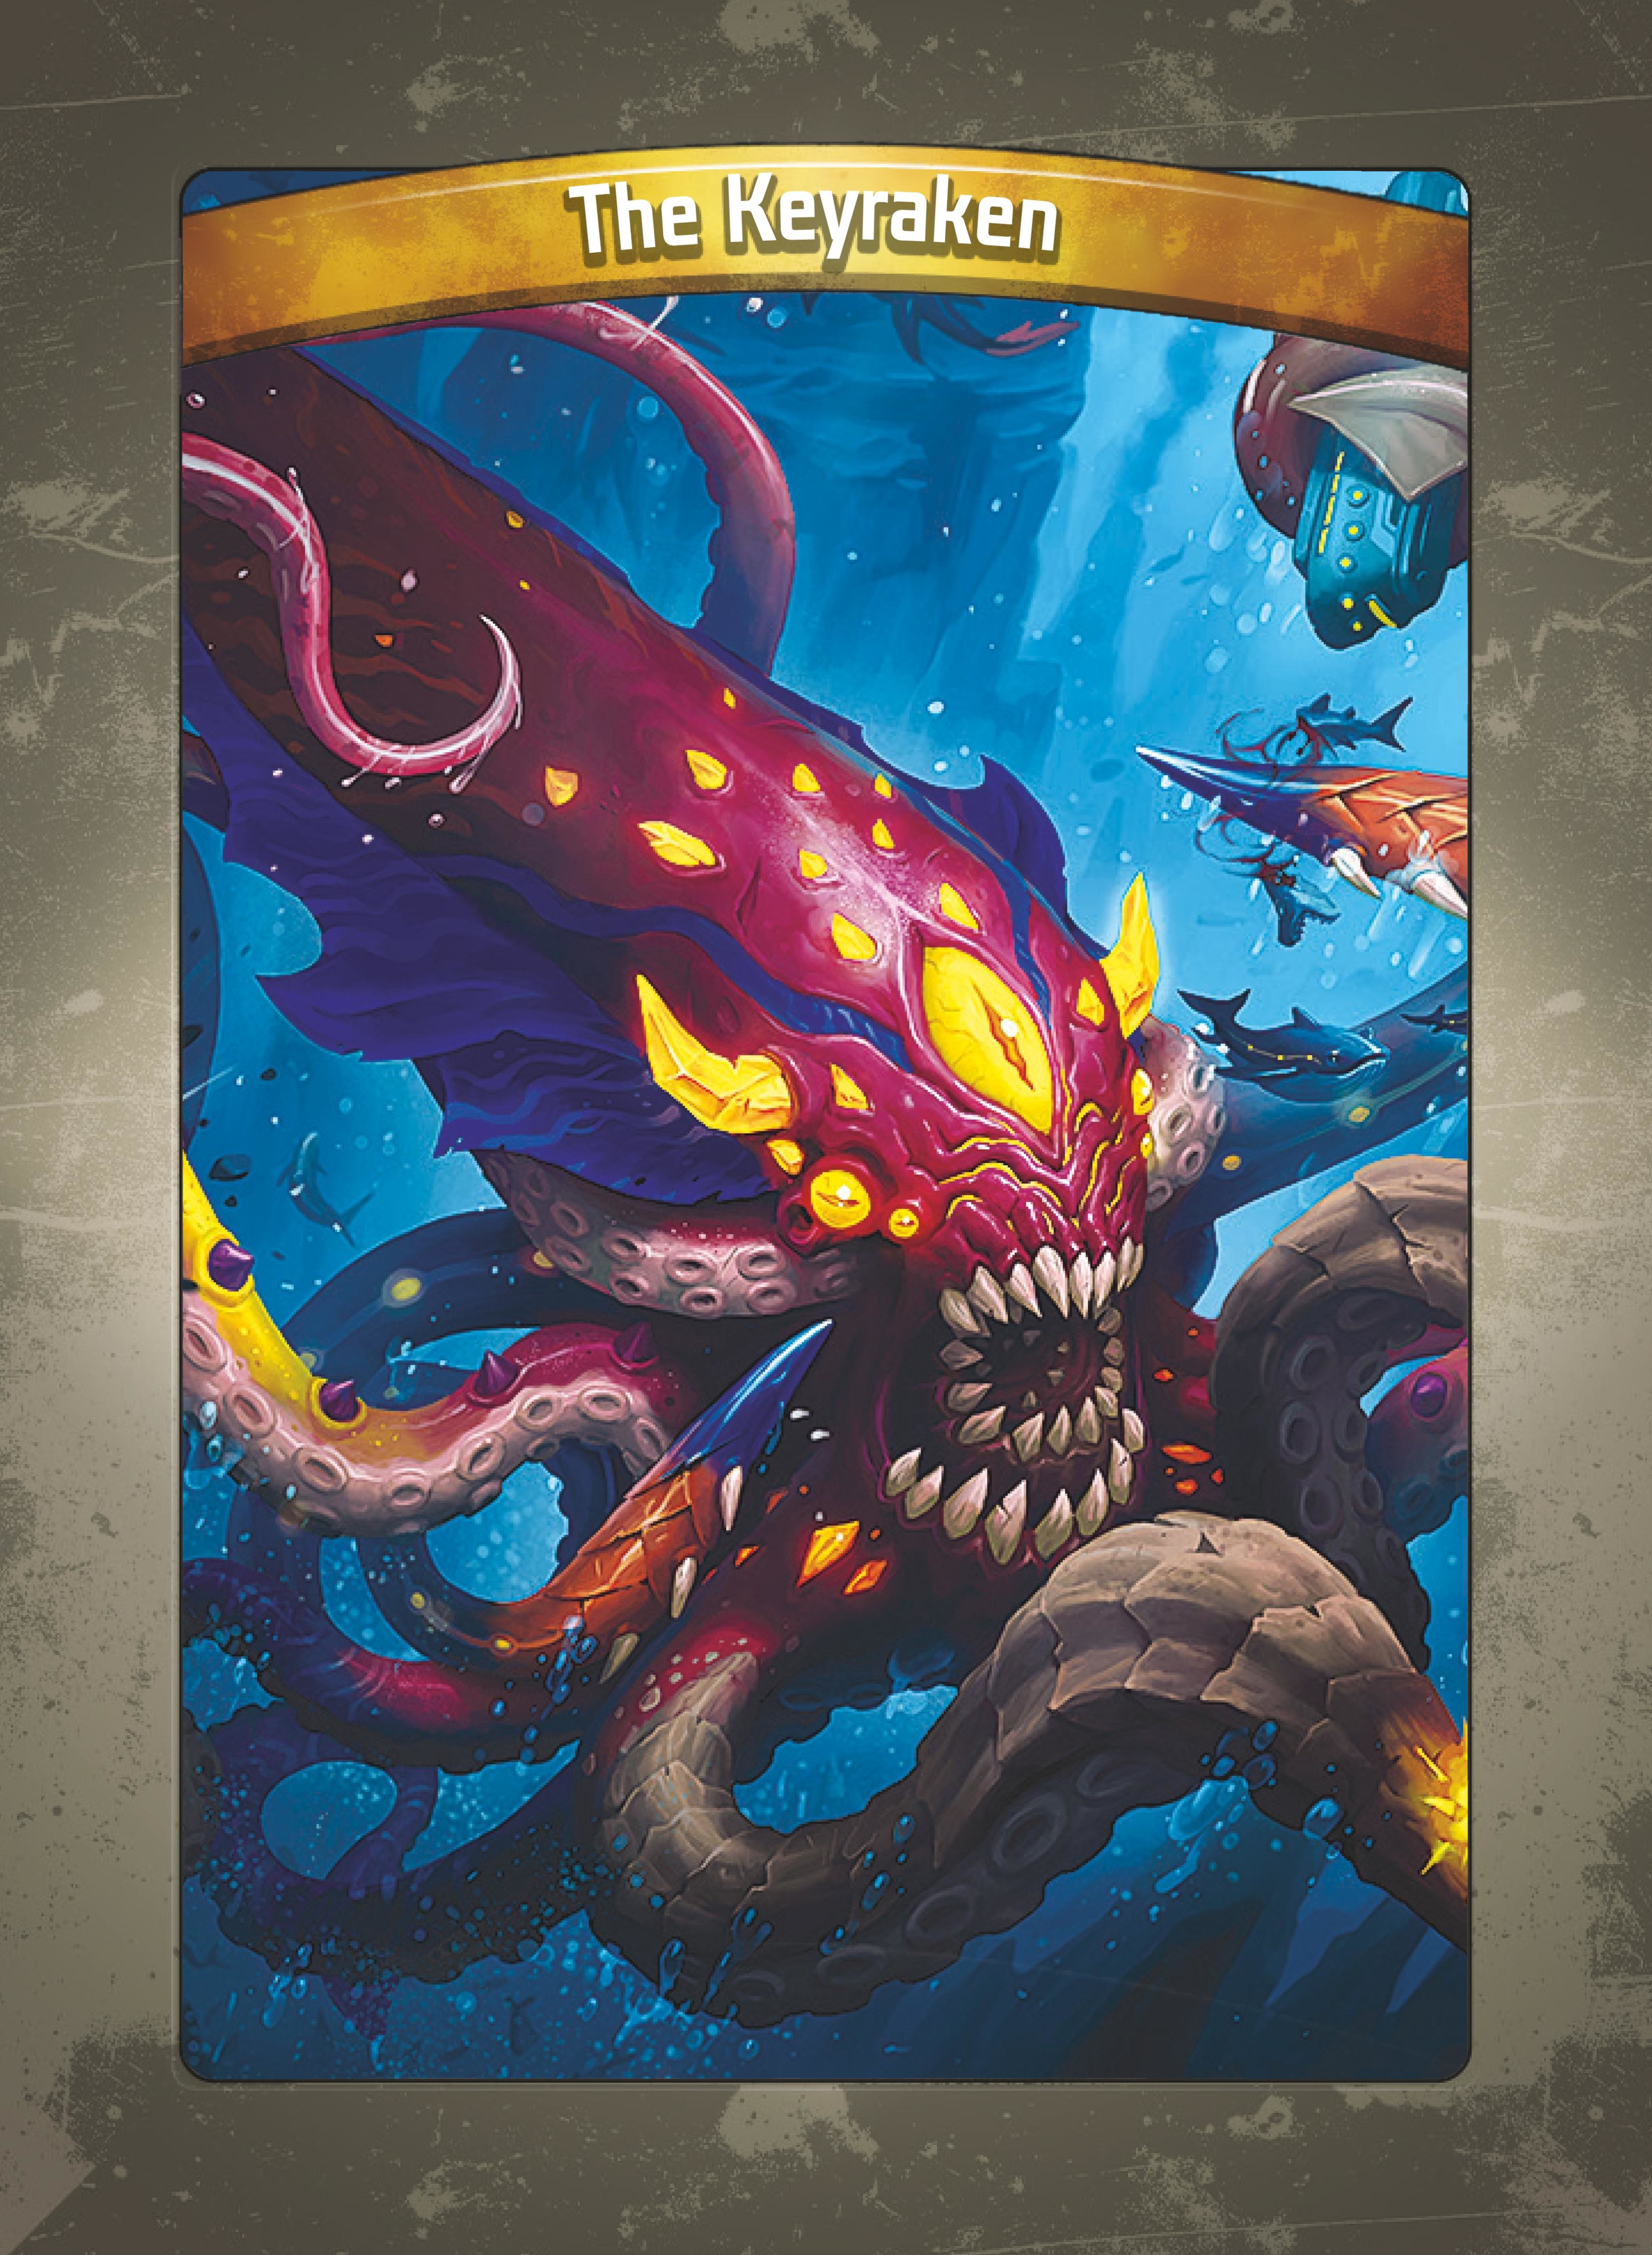
Handling the Keyraken
As the Keyraken card is intended to be printed at a larger format it needs to be handled separately. As I’d rather keep all cards in a simple standard deckbox, I don’t want the single oversize card. So I opted to split the card across two normal sized cards, similar to the mega-creatures from Mass Mutation. This required its own little script, but the principle is the same as before.
from PIL import Image, ImageOps
import os

output_dir = "./output/kf_adv_keyraken_keyraken"

try:
    os.mkdir(output_dir)
except:
    pass

image = Image.open('./output/kf_adv_keyraken_keyraken.pdf_dir/0_kf_adv_keyraken_keyraken.pdf.jpg', 'r')

# rotate and resize image

input_size = (2953 * 2, 4193)
resized_image = image.rotate(-90, expand=1).resize(input_size)

# add bleed area
target_size = (3288, 4488)

pos_x = (target_size[0] * 2 - input_size[0]) // 4
pos_y = (target_size[1] - input_size[1]) // 2

offset = (pos_x, pos_y)

image_bleed = Image.new("RGB", (target_size[0] * 2 - pos_x * 2, target_size[1]), (255, 255, 255))
image_w, image_h = image_bleed.size

image_bleed.paste(resized_image, offset)

image_bleed.paste(ImageOps.mirror(resized_image.crop((0, 0, pos_x, input_size[1]))), (0, pos_y))
image_bleed.paste(ImageOps.mirror(resized_image.crop((input_size[0] - pos_x - 1, 0, input_size[0], input_size[1]))), (pos_x + input_size[0], pos_y))

image_bleed.paste(ImageOps.flip(image_bleed.crop((0, pos_y, image_w, pos_y * 2))),
                 (0, 0))

image_bleed.paste(ImageOps.flip(image_bleed.crop((0, input_size[1], image_w, input_size[1] + pos_y))),
                  (0, input_size[1] + pos_y))

# Save image (full image and left and right halves)
image_bleed.save(os.path.join(output_dir, "keyraken.jpg"))
image_bleed.crop((0, 0, target_size[0], target_size[1])).save(os.path.join(output_dir, "keyraken_left.jpg"))
image_bleed.crop((image_w - target_size[0], 0, image_w, target_size[1])).save(os.path.join(output_dir, "keyraken_right.jpg"))
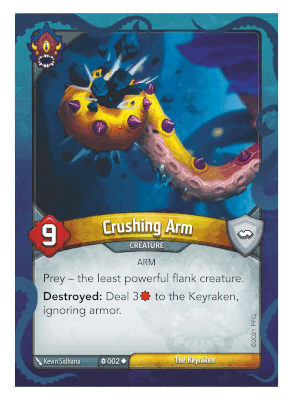
Creating a card back
No Python required here, I used a card list (from a Print-and-Play deck) and, the Keyraken card to come up with the image below. Feel free to use this one if you are following along (it is the correct size and includes a bleed for printing).
Printing the cards
The correct size for KeyForge cards is poker size on Printer Studio, and poker size (63.5 x 88.9 mm) on Make Playing Cards. However, the exact same image dimensions can be printed as 63 x 88 mm (Printer Studio) and poker size (63 x 88 mm) (MPC), which matches the size of Magic: the Gathering cards. Since you will never mix these cards with official cards, it doesn’t matter much. I’ll opt for the 63 x 88 mm so I can fill the order with some M:tG proxies and tokens (which do need to have the exact size of the actual cards, but this is entirely up to you !)
Conclusion
Releasing these expansions, which give a unique twist to an already great game, is very generous from FFG. With the code here these free assets can be converted into something you can get professionally printed for a reasonable price. This way you’ll have an awesome looking KeyForge Adventure deck that you can pull out every time you want to team up with friends instead of facing them.
Personally, I’m waiting for the next adventure to be released and print both at the same time. If the new ones require additional code to process I’ll make sure to post it on this blog and when I finally get physical cards there will be some picture showing up!
Liked this post ? You can buy me a coffee