Adding Aqara Sensors to Home Assistant
to monitor temperature, humidity and air pressure
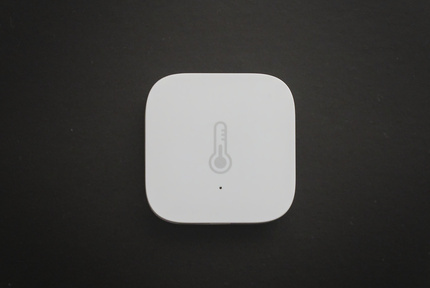
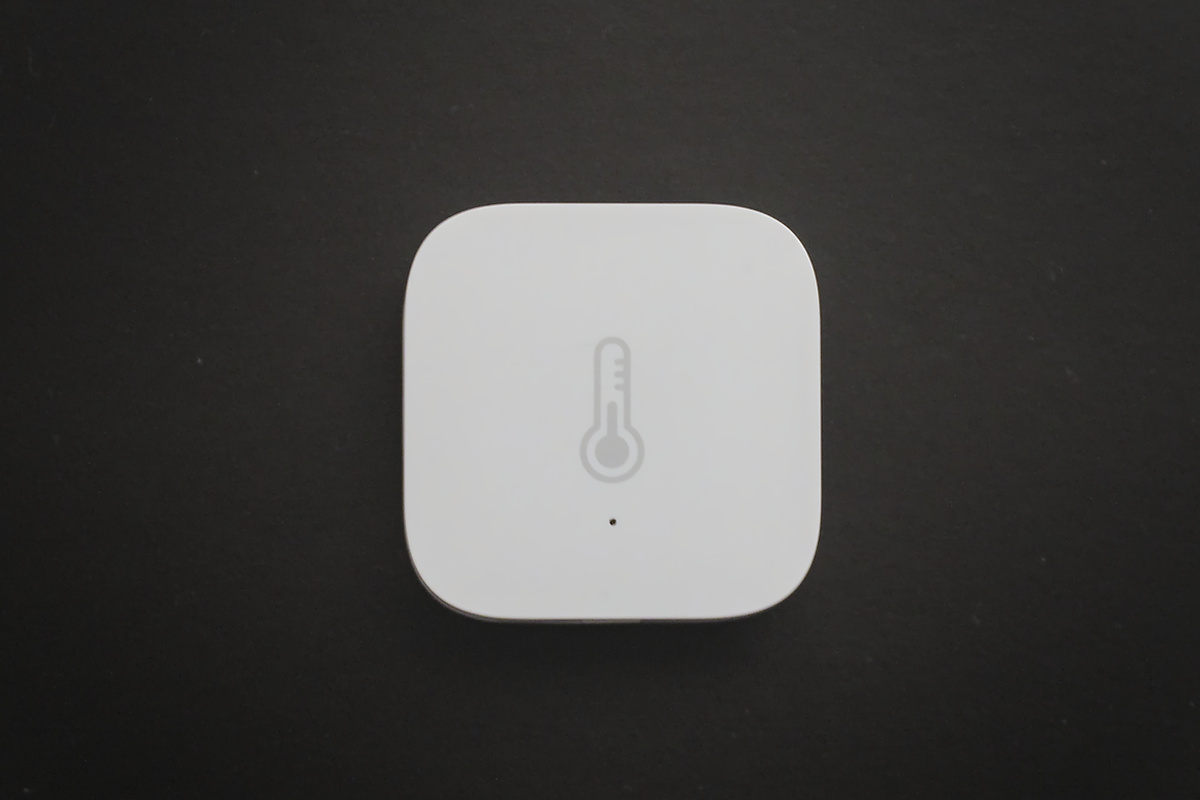
Home Assistant is running great! It is time to add some more devices to my setup, and since all groundwork to add Zigbee devices using Zigbee2MQTT was done previously (check out this post) it makes sense to add more devices that support this protocol. For this post I picked up two Aqara sensors which can measure temperature, humidity and air pressure in a small form factor.
Pairing new Zigbee devices
First we need to pair Zigbee2MQTT to the new sensors, to do this we’ll have to log onto the Raspberry Pi and edit the
file /opt/zigbee2mqtt/data/configuration.yaml. Find the line that says permit_join: false and change this
to permit_join: true. Then restart Zigbee2MQTT using the commands below.
sudo nano /opt/zigbee2mqtt/data/configuration.yaml
sudo systemctl restart zigbee2mqtt
Now Zigbee2MQTT is ready to pair with new devices. To pair a sensor, press the button on top. Once you press
the button it will blink once indicating it is pairing and upon connecting it will blink twice. Now go back into
/opt/zigbee2mqtt/data/configuration.yaml and give your device a name, this is done by adding a friendly_name tag
to the device as shown below in my configuration file.
...
devices:
  '0x00158d0003495e50':
    friendly_name: Aqara Cube
  '0x00158d00068b6c2e':
    friendly_name: TMP Sensor Bedroom
  '0x00158d0006a08eda':
    friendly_name: TMP Sensor Nursery
While you could connect all devices in one go, I recommend adding them one by one and setting the name to something
easy to remember. Once you have connected the last device set permit_join back to false and restart
Zigbee2MQTT one last time.
Creating an interface for our sensors
Once all new devices are paired you should see in Home Assistants Integrations page (in Configuration) that there are a few additional MQTT devices found. Let’s quickly set up an interface to monitor them!

At a later stage a smart socket could be used to turn the humidifier on automatically when necessary. For the time being, I’m just interested in monitoring the temperature and humidity in our master bedroom and nursery. So in case it feels cold, or dry I can go back and see what was going on the last 48 hours.
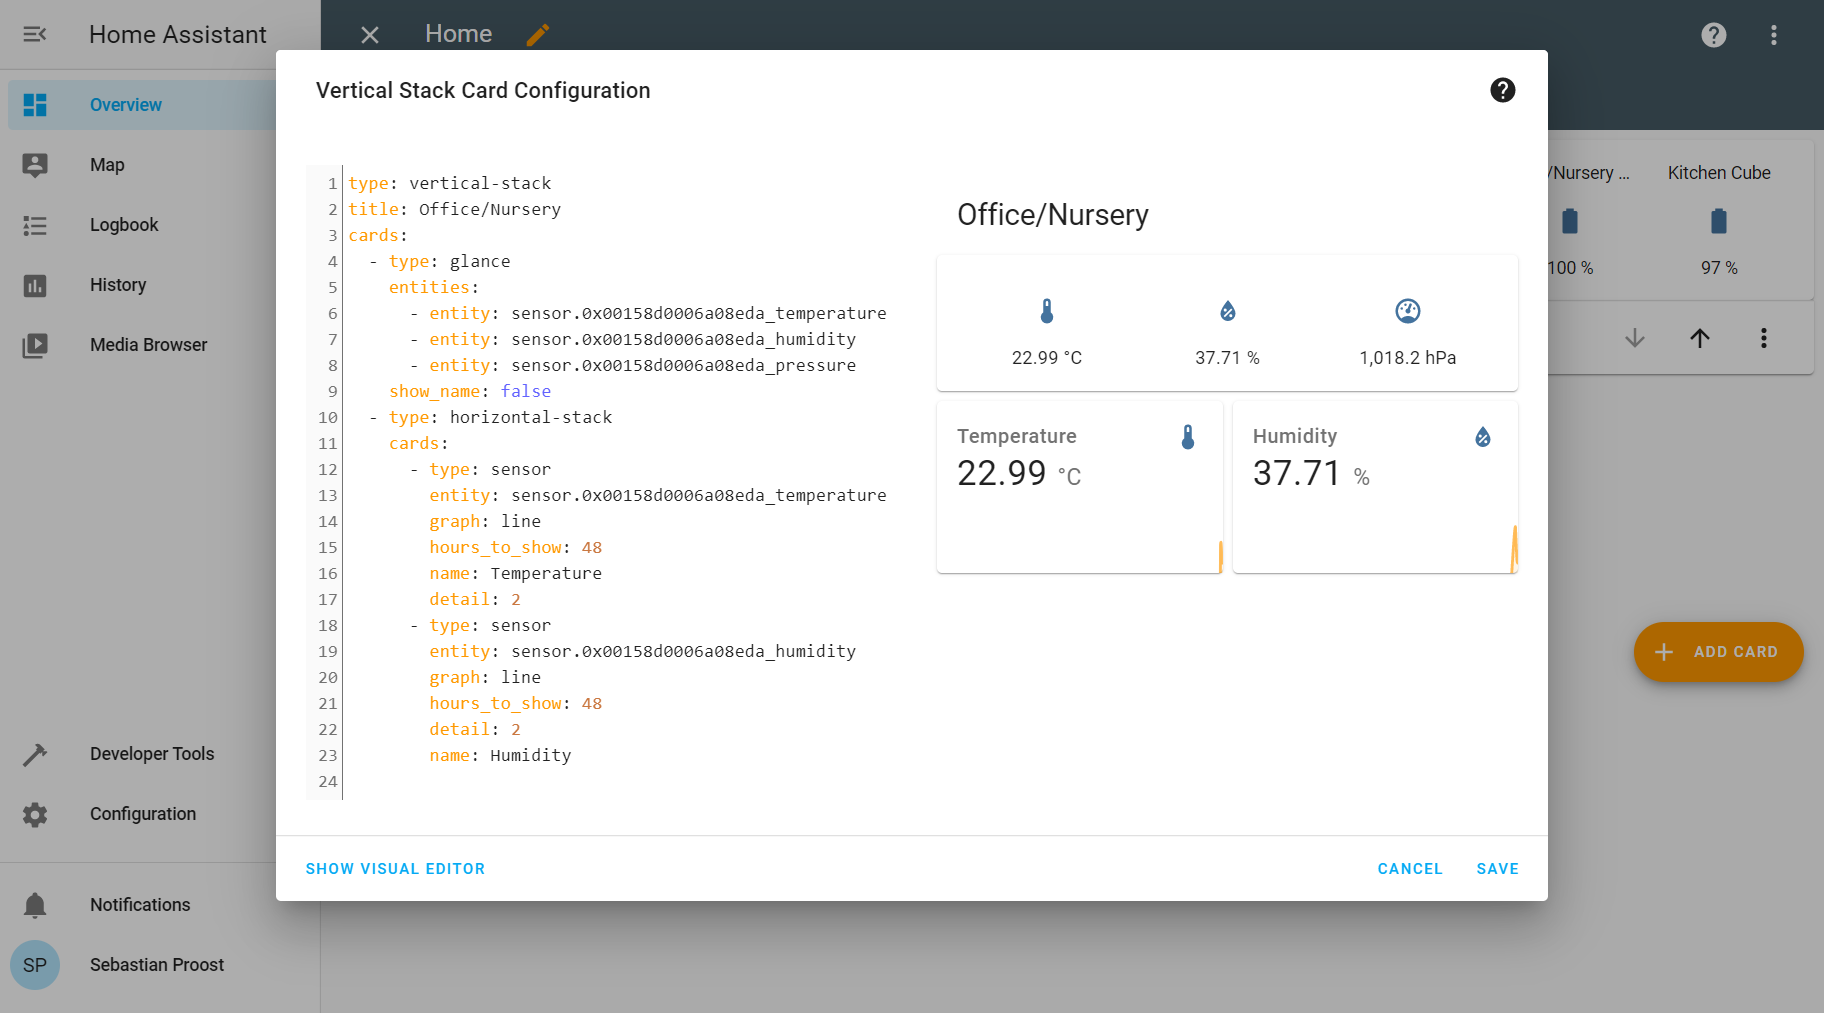
So I’ve added a new page in Home Assistant and combined a glance card with two sensor cards into a nice overview for the two rooms. With recent versions of Home Assistant, these can be set up easily using the interface, or you can use the yaml code below (don’t forget to change the sensors to match you system).
type: vertical-stack
title: Office/Nursery
cards:
  - type: glance
    entities:
      - entity: sensor.0x00158d0006a08eda_temperature
      - entity: sensor.0x00158d0006a08eda_humidity
      - entity: sensor.0x00158d0006a08eda_pressure
    show_name: false
  - type: horizontal-stack
    cards:
      - type: sensor
        entity: sensor.0x00158d0006a08eda_temperature
        graph: line
        hours_to_show: 48
        name: Temperature
        detail: 2
      - type: sensor
        entity: sensor.0x00158d0006a08eda_humidity
        graph: line
        hours_to_show: 48
        detail: 2
        name: Humidity
24 Hour test
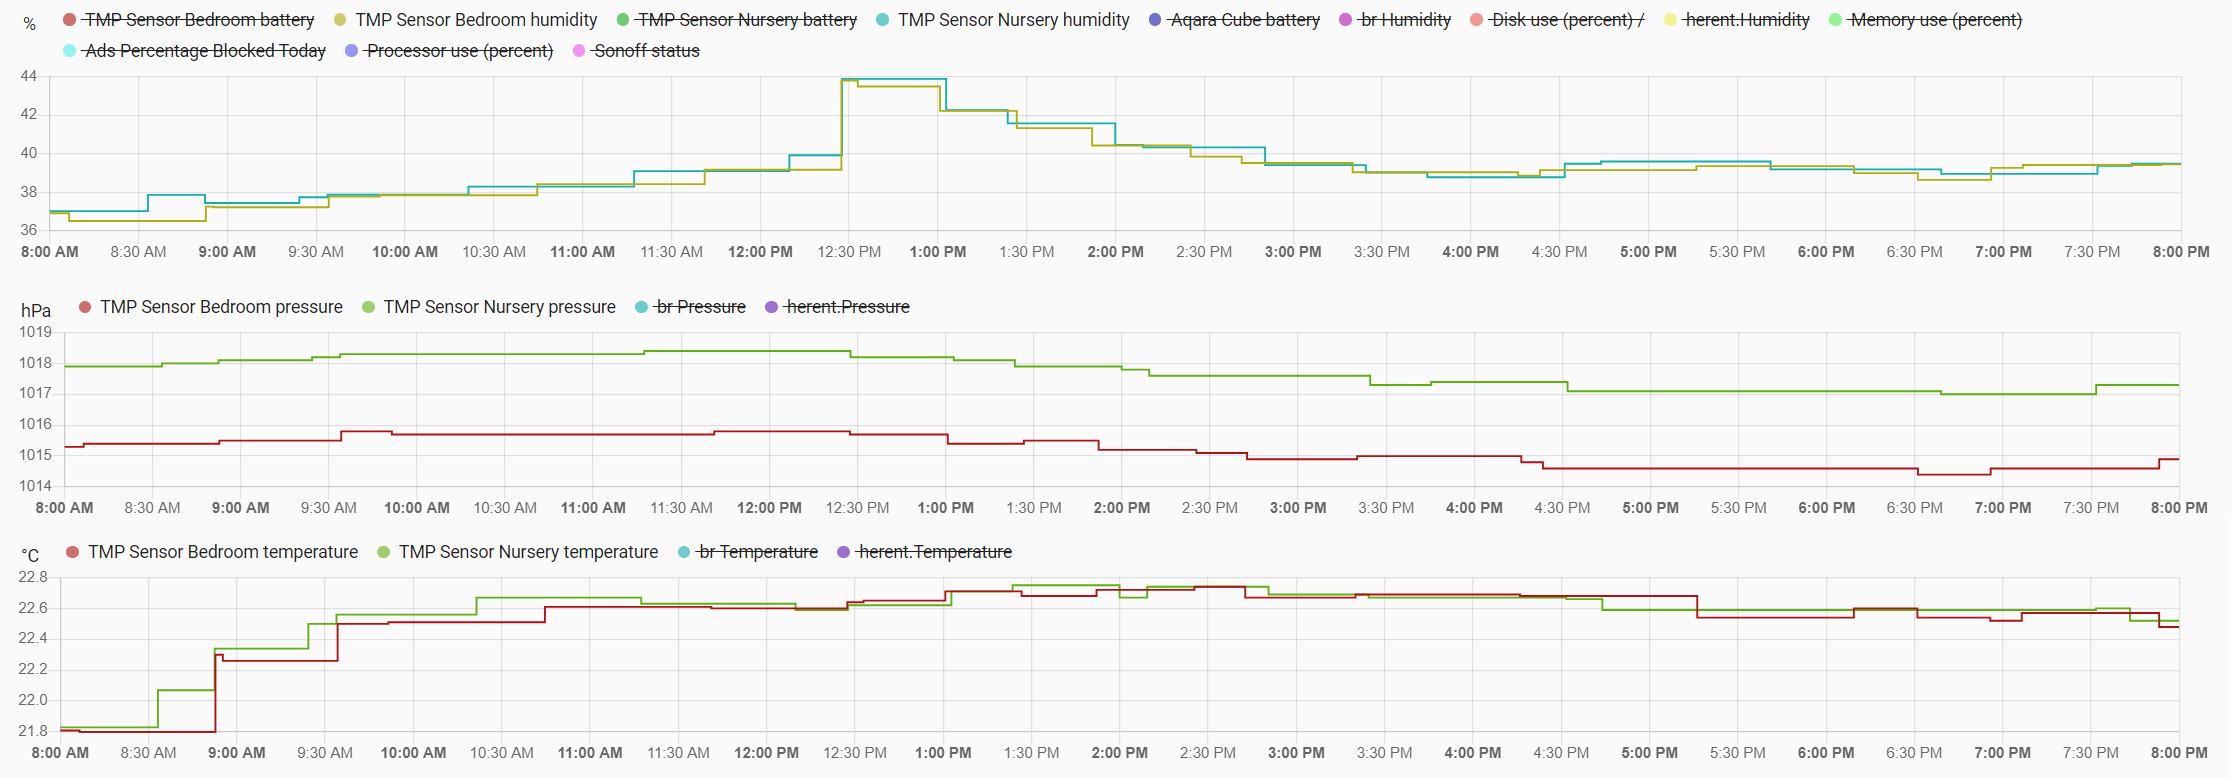
Given how inexpensive these sensors are I wanted to test how well they actually performed. So before installing them in their final location I put them side by side on my desk and pulled the data from Home Assistant after 24 hours. The temperature measurement is very consistent between both devices, usually it is off by less than 0.1 degrees. Comparing temperatures in different rooms equipped with these sensors is perfectly possible. Humidity readings are also fairly consistent between the devices and vary about 1% between devices. Again good enough to directly compare readings of sensors in different rooms. The air pressure however is off by about 2-3 hPa on both devices and considerably lower than the (outside) air pressure reported by the closest weather station. However, the correlation with the outside air pressure was pretty good. So while the absolute value seems to be off, it is a consistent error and readings between devices can’t be directly compared, it is possible to calibrate and correct this. As I have no real use for barometric pressure readings, let along comparing them between rooms, this is a non-issue for me.
Conclusion
Since creating the Zigbee2MQTT stick was the hard part and this was done in the previous post connecting an Aqara cube to Home Assistant, adding two more sensors was a breeze. Apart from the lack of an interface to pair new devices, which required dropping into the console and type a few commands, it is pretty easy, and it is tempting to start adding additional devices …
Liked this post ? You can buy me a coffee